
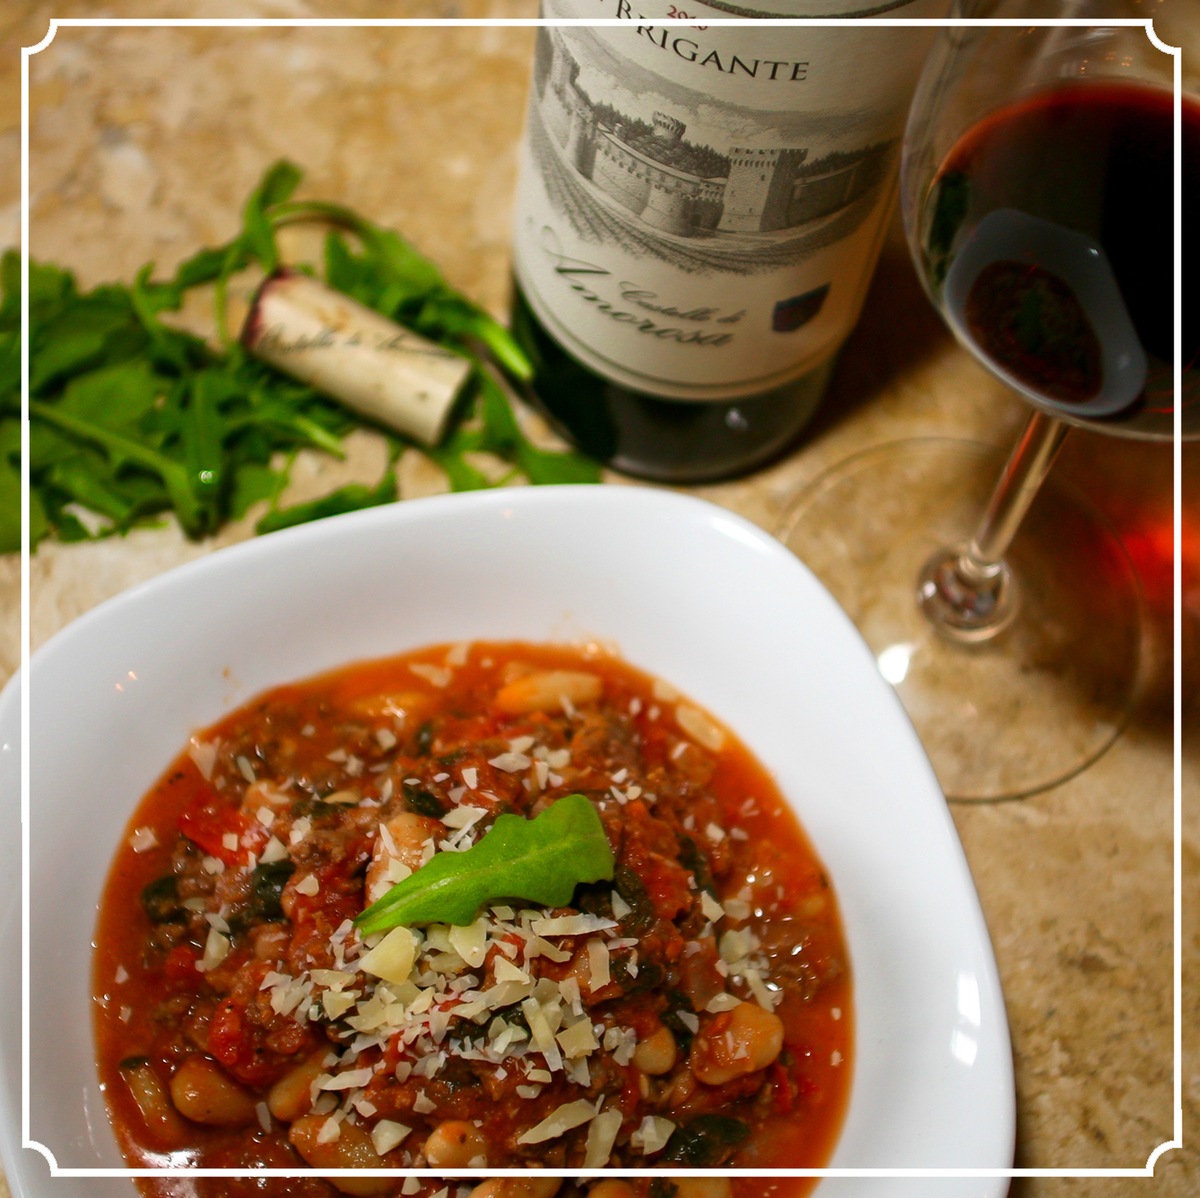
Tuscan White Bean Chili with Spinach

Recipe Date: June 11th, 2018
Serving Size: 6
Cook Time: 00:45
Difficulty: Easy
Measurements: Imperial (US)
Tuscan White Cannellini Bean Chili With Spinach Recipe
From Mary Davidek
Ingredients
1 28 oz can diced tomatoes
1 28 oz can tomato puree
1 cup beef boullion
1 sweet onion, roughly chopped
3 15 oz cans cannellini beans, rinsed
1 lb lean ground beef
1 lb Italian chicken sausage
1 cup finely grated Parmesan cheese
2 bags fresh baby spinach
salt and pepper to taste
1 tsp sugar
red pepper flake to taste
4 cloves garlic, minced
3 tbsps olive oil
oregano and basil to taste
Directions
Brown ground beef and sausage drain off fat then place in large pot. Sauté onion and garlic in olive oil. Add spinach and add 1 Cup bouillon to wilt. Add to pot and combine remaining seasoning and ingredients. Adjust liquid level (additional broth if desired). Simmer on low for approximately 30 minutes. Finish with grated parm. Serve with a glass of chilled Castello red wine.
Serves 6 people, or 2 people for a week!
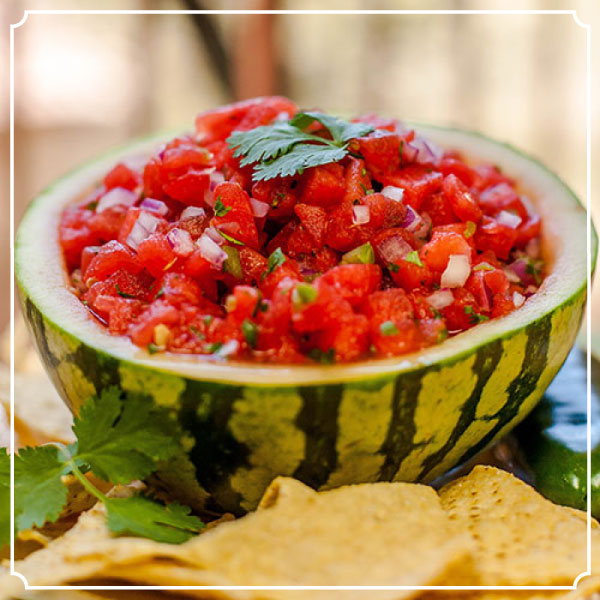
Watermelon Salsa
Recipe Date: June 11th, 2018
Serving Size:
Cook Time:
Difficulty: Easy
Measurements: Imperial (US)
Watermelon Salsa
Ingredients
3 cups diced seedless watermelon
2 jalepeno peppers, seeded and minced
1/3 cup chopped cilantro (approx. 1/2 bunch)
1/4 cup lime juice
1/4 cup minced red onion
1/4 tsp salt
Directions
Simply mix all ingredients and serve! Great as pico de gallo for fresh fish tacos, or simply serve all on its own with tortilla chips. A refreshing summer snack for picnics and barbecues. Try with a chilled glass of our Gioia dry rosé of Sangiovese!
– Mary Davidek
As seen on Mary Davidek’s Food and Wine Blog: Summer (Food and Wine) Ramblings

Ahi Avocado Salad with Ponzu
Recipe Date: June 6th, 2018
Serving Size:
Cook Time:
Difficulty: Easy
Measurements: Imperial (US)
Ahi Avocado Salad with Ponzu Dressing
From Mary Davidek
Ingredients
1/2 cup ponzu or soy sauce
3 tbsps water
2 tbsps rice vinegar
1 tbsp grated ginger
1 1/2 tsps lime juice (with zest to taste)
Directions
Mix well and pour over cubed Ahi and Avocado.
“Chardonnay may not be the traditional go-to for Ahi salad, but, a bit of aging leveled off the acidity and the velvety texture of the avocado played off the creamy notes of the Chardonnay. This was a delicious and luxurious pairing.”
– Mary Davidek
For a perfect pairing, enjoy this Ahi Avocado Salad with a glass of our California-style Grand Cru Chardonnay from Bien Nacido Vineyard.
See this recipe featured in Mary’s Food and Wine Blog: In Defense of a Napa Valley Hero
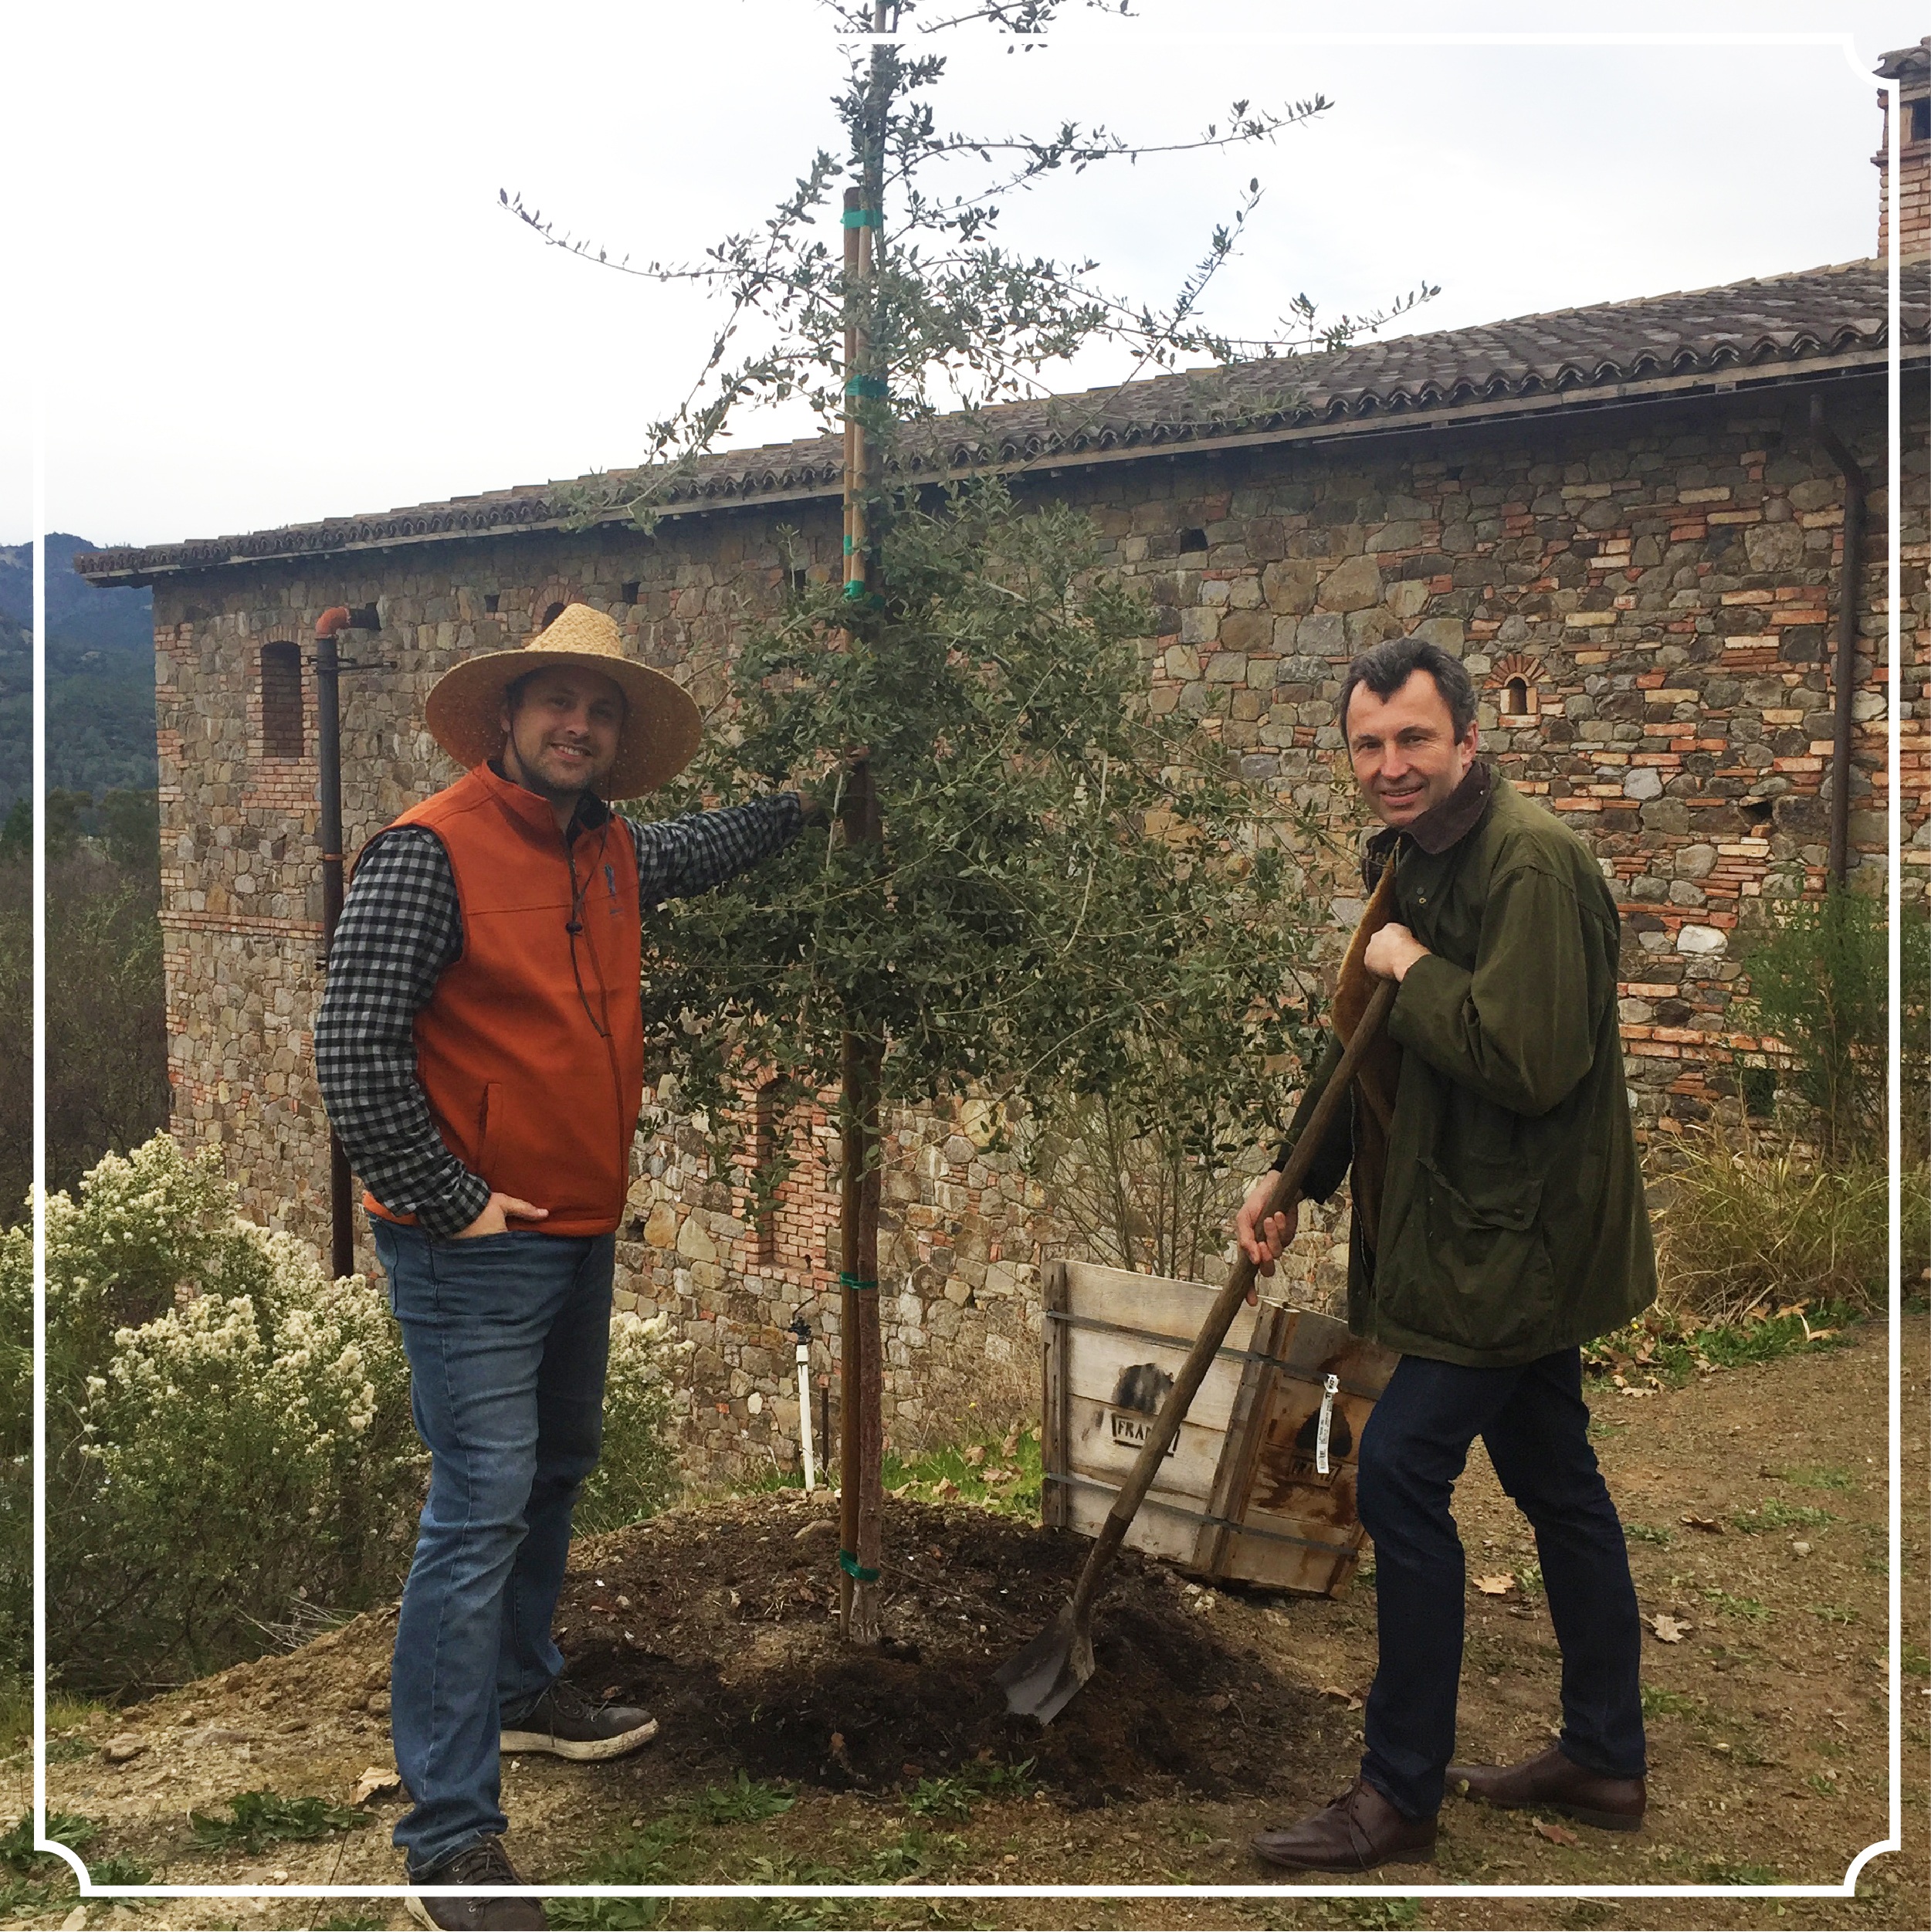
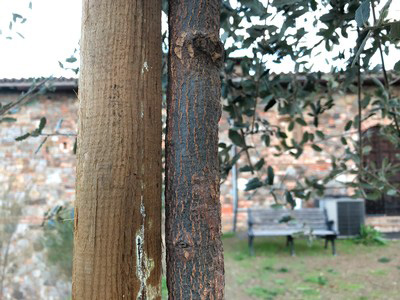
Our First Cork Tree At The Castello
Our First Cork Tree at the Castello
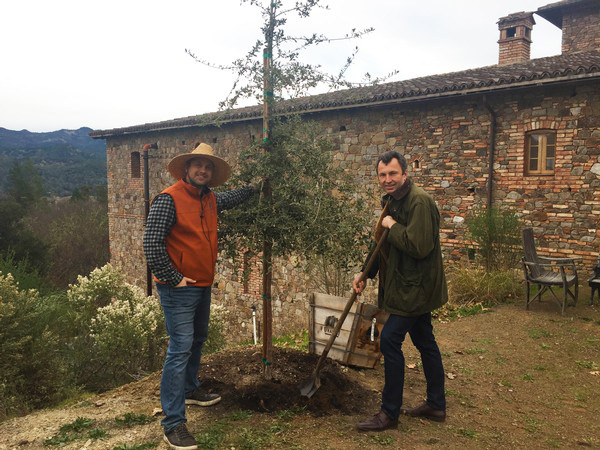
This January, Castello President Georg Salzner and Winemaker Peter Velleno planted our first cork tree. Native to southwestern Europe, the Quercus suber cork oak tree can grow up to 100 feet tall, and is sure to thrive in the Mediterranean climate we enjoy here in Napa Valley. Wine Corks are made from the bark of the cork tree, which needs to be stripped and peeled off by hand. Cork trees are typically harvested every seven years, and are a renewable resource since the tree is not cut down and only the outer layer of bark is removed. It takes a cork tree 25 years to reach maturity before its bark can be harvested, and we are looking forward to our first Castello cork harvest in 2042!
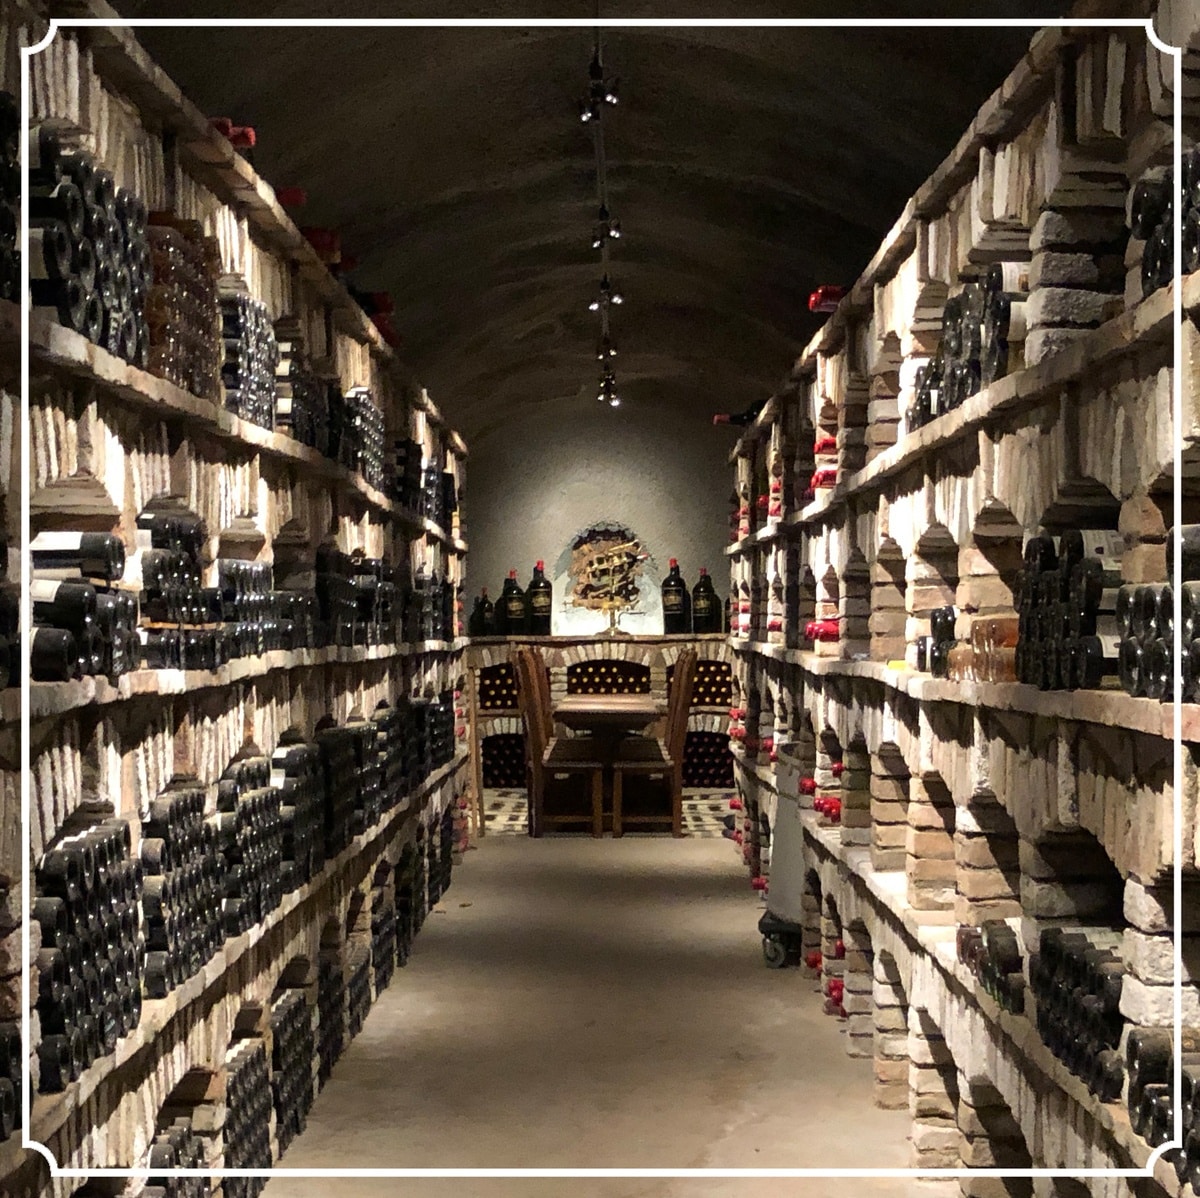
Aging Gracefully
Aging Gracefully: How to Store & Age Wine
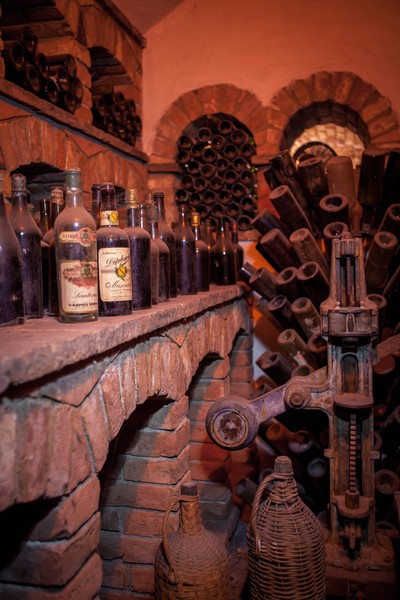
If you have ever taken a guided tour of the Castello, you will have walked past our Library Rooms, filled with the Castello’s older vintages resting quietly in their cool brick shelves in small, frescoed rooms behind hand-forged wrought iron gates. One of these rooms even houses wines from Dario’s great grandfather’s original winery in San Francisco, dating back over a century. These dimly lit rooms raise numerous questions from inquisitive guests: what is the best way to age wine? How should you store your bottles? How long should you age them? Are those 100 year old bottles still drinkable? All great questions! Now for some answers…
♦ Storing Wines: How To Store Your Wines
Whether you’re planning on enjoying the bottles you brought back from your trip to the Castello next week, next year, or next decade, there are a few simple steps you can take to ensure that your wine will be perfectly ready to drink when you pop that cork:
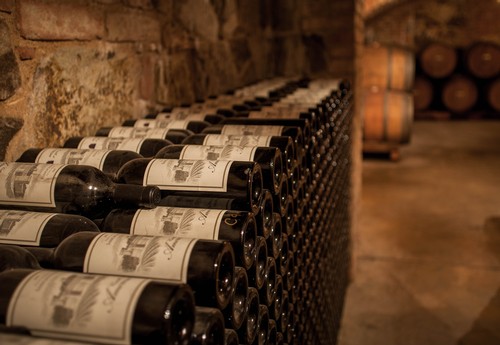
- Store cork sealed bottles on their side. This will help to ensure that the cork stays moist, preventing oxidation from drying it out and letting air into the wine bottle.
- Store screw cap bottles upright. Since there is no cork, there is no need to store these bottles on their sides.
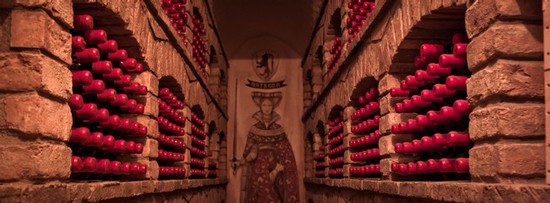
- Keep your wines out of direct sunlight. The back seat of your car or your kitchen window are definitely not ideal places to keep your favorite bottle of Castello wine. Light can be damaging to wines, altering their delicate chemical balance and potentially even heating up your wine. This is why the lights you see in our Library Rooms are dim and red, and also why most ageable wines such as Cabernet Sauvignon come in deep green bottles; the color of the bottle helps to prevent light rays from penetrating through the glass.
- Store your wines at a cooler temperature. Hot wine = cooked wine, which can be a sad sight to see (and a terrible thing to taste). You’ll notice heat damage to your bottles if the cork appears to be popping up from the bottle. Most wines are best kept around 55° Fahrenheit (13° Celsius). Keeping them cooler also helps to slow the aging process. Storing your bottles in a slightly humid environment (60-70% on average) is also helpful for preventing the cork from drying out at the end not in contact with the wine. If you don’t have a wine fridge or cellar, keeping them in a cool place out of direct sunlight, like a closet or a wine rack in the coolest part of your house, should do the trick just fine.
♦ Aging Wines: How To Age Your Wines
Are a Cabernet Sauvignon and a Pinot Grigio capable of aging the same amount of time? Definitely not. There are certain characteristics of specific grape varietals, as well as how the wines are aged before bottling, that determines a wine’s ageability. The vast majority of wines available in the market today are meant for consumption sooner rather than later. Some, however, absolutely benefit from some quiet time in the cellars.
- Bold red wines like our Il Barone Reserve Cabernet Sauvignon and La Castellana Super Tuscan blend are capable of long-term aging, typically up to 15 years from the vintage date on the bottle. This is because these wines have the structure capable of aging due to the tannins imparted from thick skins of the Cabernet grapes as well as the new French oak barrels they’re aged in. As the wine sits in the bottle, these tannin molecules are linking together and falling to the bottom of the bottle as sediment; which is often why so many younger Cabernets tend to pack a bigger “punch” than older vintages (and also why so many older red wines are decanted to remove the sediment). While these wines are fantastic to drink now, they can be even better after laying down for several years, as the structure of the wine smooths out and the tannins are allowed to integrate further.
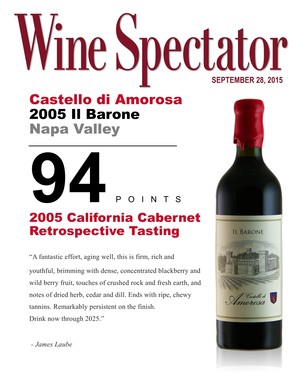
- Our 2005 Il Barone was recently awarded 94 Points from Wine Spectator Magazine in a ten year retrospective tasting led by wine critic James Laube, which only helps to prove that those bottles of Castello Cabernet in your cellar are getting even more spectacular with age!
- Light-bodied white and sweet wines like our Pinot Grigio and La Fantasia are meant for drinking within the first five years from its vintage date. These wines are prized for their bright and crisp qualities; as they age these characteristics tend to fade. So if you’ve been hanging onto that bottle of 2006 La Fantasia, it might be time to pop that bottle before it’s too late!
- If you’re ever curious about how long to age your favorite bottle of Castello wine, check out our Ageability and Cellaring Chart, which shows the proper time, temperature, and storing positions for our premium and reserve wines.
So whether you’re building your own Tuscan-inspired brick and frescoed underground cellar, or are simply looking to keep your prized Castello wines from cooking in the living room of your apartment, there are plenty of ways to ensure that you’ll be enjoying your favorite bottle at the best time, temperature, and place! Just be sure to drink them before they turn 100!
Crepes with Peaches and Cream
Recipe Date: February 28th, 2018
Difficulty: Easy
Measurements: Imperial (US)
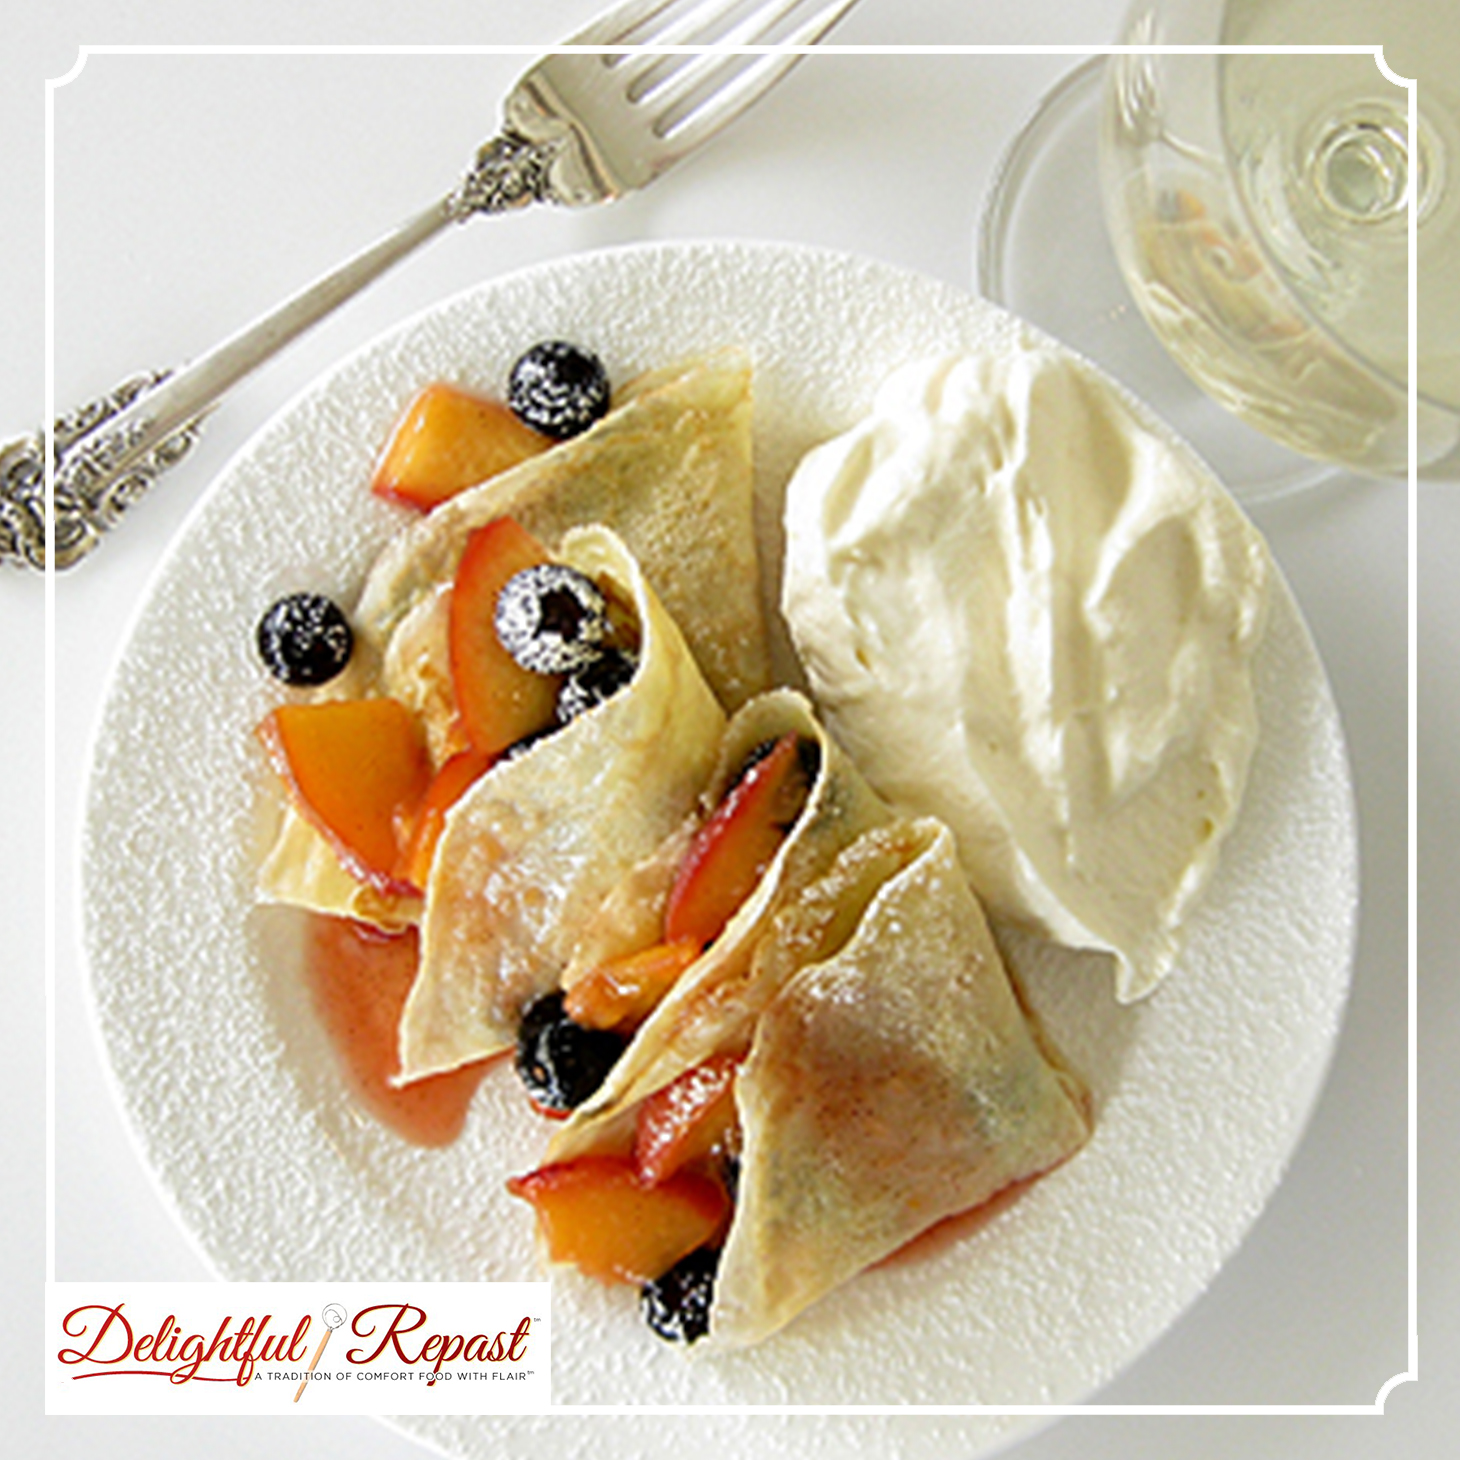
Crepes with Peaches and Cream
From Delightful Repast
The Crepes
(Makes 18 6-inch crepes)
- 2/3 cup milk
- 2/3 cup water
- 2 large eggs
- 1 tablespoon sugar (omit when making savory crepes)
- 1/4 teaspoon salt
- 1 dip-and-sweep cup (5 ounces) unbleached all-purpose flour
- 2 tablespoons unsalted butter, melted and slightly cooledThe Fresh Fruit Filling
- Thinly sliced perfectly ripe yellow peaches or other soft fruit
- Freshly squeezed lemon juice
- Sugar
The Garnish
- Powdered sugar
- Whipped cream
- Tip: Or use an immersion blender in a 1-quart glass measuring cup, as I prefer; pulse until batter is smooth, scraping down the sides once or twice, about 20 seconds total.
2. Crepes can be made any size, but I use an 8-inch nonstick omelette pan or 8-inch nonstick fry pan to make 6-inch dessert crepes. Heat pan over medium-low to medium heat until thoroughly heated (droplets of water sprinkled onto the pan will sizzle and disappear immediately), about 2 minutes. Brush lightly with just a little melted or softened butter.
- Here it is now, The Swirl: Holding pan off heat, quickly pour into the center of the pan 1/8 cup of batter, and immediately begin swirling, tilting and rolling, the pan until the batter covers the bottom of the pan evenly. Cook for about 30 to 60 seconds, or until browned on the bottom and looking dry on the top, especially the edge. Using both hands, lift the edge with your fingers and turn it over. The second side will need less time to cook.
- Tip: I use a 1/8-cup from my stainless steel measuring cup set. It is exactly the right amount to make crepes that are just a bit over 6 inches in diameter. And I use the GIR silicone mini spatula to start lifting the edge, then take hold of it with the thumb and index finger of both hands and quickly flip it over.
4. Prepare a dessert filling; in this case, fresh peach filling. You need only about 3 or 4 tablespoons of filling per crepe, and there are 2 crepes per serving. So do the math. If you are making dessert for two (that’s 4 crepes), thinly slice enough peaches to make 1 cup or so. Add a squeeze of fresh lemon juice and sugar to taste; let stand at room temperature for about 30 minutes to macerate.
You can even cook the macerated filling for 4 or 5 minutes if you prefer your peaches cooked. It’s definitely the way to go when your peaches are less than stellar.
5. To assemble: Lay down a crepe, pretty side down (that’s the first side cooked), spoon 3 to 4 tablespoons of fruit onto one half. Fold over other half to cover. Fold in half again to form a wedge (that’s the “Crepes Suzette fold”). Place 2 crepes on each dessert plate. Dust with powdered sugar and add a spoon or two of whipped cream.
Related Products

The Quick Chill
The Quick Chill: How to Quickly Chill Wine to Serve
One of the most frequently asked questions we get in our tasting room is how to age, store, and serve our wines, which can vary greatly depending on the type of wine being talked about (for a handy reference, check out our Ageability and Cellaring Chart to see just how to store and serve your favorite bottles of Castello wines). But if you’re looking for the fastest way to chill your favorite wine bottle tonight and need a quick tip on the best temp to serve it, look no further! We’ve got a few wine serving secrets that will teach you how to quickly, and properly, chill a wine bottle before serving to get the most out of every drop…
First and foremost, “Room Temperature” is normally not the correct temperature to serve your red wines! If the room your wine has been stored in is on the warmer side (above 65° F), your wine will be too warm and those beautiful fruit flavors will be masked by a stronger presence of alcohol. Conversely, your white wine stored in your refrigerator will most likely be too cold if you pop the cork right after you take it out, again masking the fruity or floral notes and structure with simply a refreshing temperature (think about that ice cold bottle of Pinot Grigio you consumed much faster than anticipated).
Here’s a good rule of thumb for how to quickly chill wines before serving when you don’t have access to a wine fridge:
♦ Red Wines: if your red wine is at room temperature and your room is warm, pop the bottle in the fridge for 15 minutes. This allows the temperature of the wine to drop just enough to reveal the beautiful layers within the bottle. For lighter bodied reds (especially Pinot Noir), it’s best to err on the cooler side, as the flavors and aromas of these wines tend to be more delicate and benefit from a slightly cooler temperature.
♦ White Wines: if your white wine is coming straight from your fridge, let it sit at room temperature for 15 minutes, bringing the temperature up just slightly so you can enjoy all of the wonderful fruits and flavors in your glass. If you’re in need of a super quick chill and forgot to put that wine bottle in the fridge in the first place, don’t panic! Wrap a wet paper towel around your room temp bottle and pop it in the freezer for 15 minutes and it will be the perfect serving temp before you know it! Just be sure to set a timer so you don’t forget about it!
Most red wines should be served between 60-65° F. Most white, rosé, and sweet wines should be served between 47-52° F. The Quick Chill is an easy trick that should help to make sure you get the most enjoyment from every sip!
Salute!
Pinot Perfection
Pinot Perfection: The 3 Different Wines
Wine grapes can be an incestuous little bunch. Genetic mutations and cross-breeding varieties can spring forth entirely new and delicious fruit (a famous example being the marriage of Sauvignon Blanc and Cabernet Franc to produce the illustrious Cabernet Sauvignon grape), and considering winemaking and viticulture have been progressing steadily for millennia, it’s no wonder we have such an abundance of varieties to choose from today.
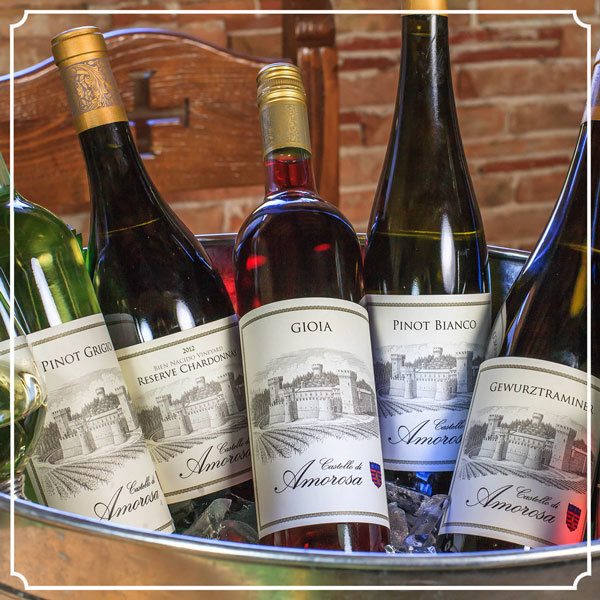
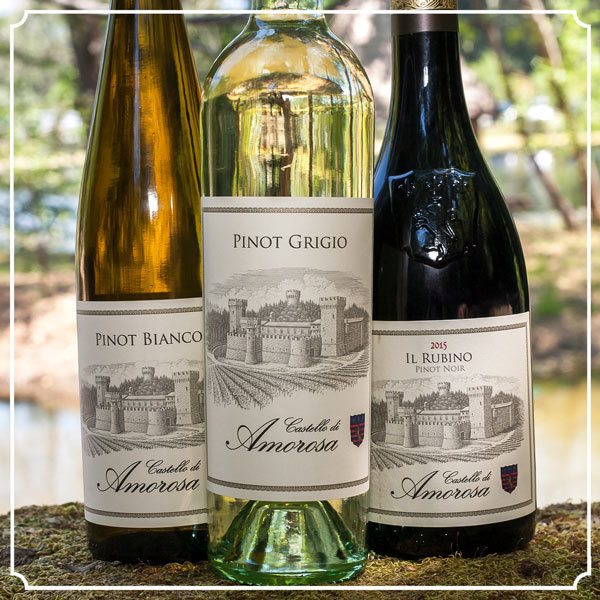
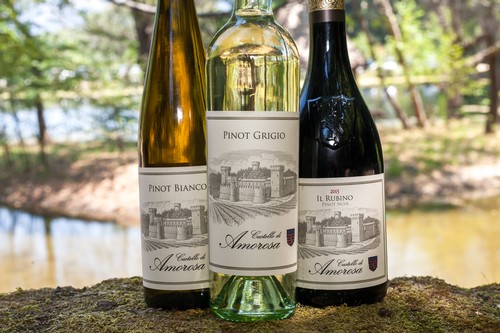
One of the most intriguing family trees (or vines…) is that of the Pinot family, with the noble Pinot Noir reigning supreme at the head of the table. This dark-skinned grape was one of the first to be cultivated for the purpose of making wine, with records dating as far back as the first century AD in Roman-occupied Gaul (France). From these humble beginnings, the grape has mutated over generations to produce a number of clonal offspring, including Pinot Gris and its more elusive sibling, Pinot Blanc. Here at the Castello, we are fortunate enough to offer all three of these delicious family members in our tasting room, and call two of them by their Italian names of Pinot Grigio and Pinot Bianco.
The names of these three Pinots are in many ways referring to the color of the berry’s skin, with Noir (French for “black” or “dark”) clusters having dark-skinned berries, Gris (“grey”) traditionally ranging from pinkish-grey to deeper purple berries, and Blanc (“white”) having light-skinned berries. In fact, due to Pinot Gris’ darker color, it can also be made as a rosé-style wine, though it is most commonly fermented without skin contact, and so is seen primarily as a white wine.
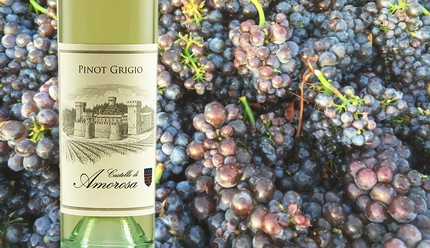
Our Pinot Grigio (Gris) comes from Anderson Valley in Mendocino County, roughly a two hour drive northwest of the Castello. Here, the cool, coastal climate helps to produce a refreshingly dry and crisp white wine, bursting with zesty notes of citrus and green apple. Light in body and with a racy acidity, it is an excellent accompaniment to light appetizers and soft cheeses.
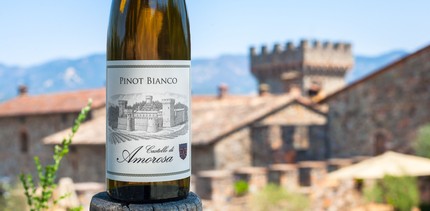
While not as famous as zesty Pinot Grigio, Pinot Bianco (also known as Pinot Blanc or Weißburgunder) is slowly gaining recognition around the world as an elegant alternative, offering a bit more body and complexity while still showing fruit-forward and refreshing notes on the palate. Because of these characteristics, it can often be mistaken for a lighter-styled Chardonnay. We try to craft our Pinot Bianco in the style of the Pinot Bianco wines from the Alto Adige region of northeastern Italy where it is most commonly grown, striking a balance between creamy and crisp, and allowing the fresh fruit flavors of apple, pear, and white flower to shine through.
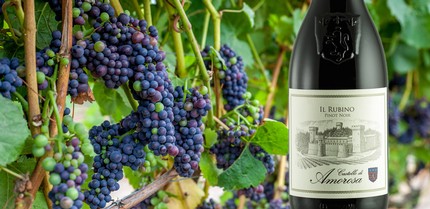
Pinot Noir (Nero in Italian) is a beautiful yet tricky grape to cultivate, with its thin skins demanding a cooler climate and more attention than its lighter-skinned relatives. For this reason, we source our Pinot Noir fruit from a variety of vineyards that all have a coastal influence on their climate and soils. We make a number of limited production Pinot Noir wines from these vineyards, including the family-owned Terra de Promissio vineyard in the famed Petaluma Gap of Sonoma County (for more, see Mary Davidek’s blog post: “Terra de Promissio: Checkmate Castello”). We also source from several of our own estate vineyards, located in Anderson Valley, Los Carneros, and Green Valley of Russian River Valley near the Sonoma coast. Each of these locations can lend subtle nuances to the finished wine, which is why we also produce our Il Rubino Pinot Noir, which combines the best characteristics of these locations into a beautiful “ruby”-colored blend.
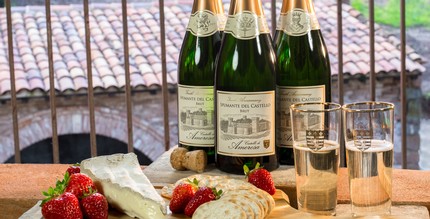
Pinot Noir is also one of the main grapes used in making the sparkling wines of Champagne, along with Chardonnay and, to a lesser extent, Pinot Meunier. We have recently released a new sparkling wine named Spumante del Castello in honor of our 10 year anniversary which is made in the methode traditionelle (formerly champenoise) and is comprised of 25% Pinot Noir and 75% Chardonnay from our vineyards in the southern end of Napa Valley.
With so many options to choose from, it’s no wonder that the Pinot family is so well-loved and respected throughout the wine drinking world. We are proud to feature this clonally diverse clan here at the Castello, and look forward to welcoming Pinot enthusiasts and novices alike to our tasting room to get to know our Pinot famiglia.
La Fantasia Summer - Chilled Rosé Wine Drink Recipe
La Fantasia Summer – Chilled Rosé Wine Drink Recipe
I hate the heat. I do. I cannot mince words or flower this up— at all. I also acknowledge as a native Californian I am not the greatest barometer for uncomfortable temperatures. I am too hot when temps soar above 90 and too cold when the mercury dips below 60. I guess as grapes are concerned, I would be Pinot Noir; a little fickle and I respond to temperature extremes. Precisely why Pinot Noir is not prolific in Napa Valley. …summers can get hot!
Napa Valley is a Mediterranean climate which among other climate indicators translates to a long growing season due an optimum diurnal variation necessary for yielding successful wine grapes. A diurnal variation, or the difference between daytime and night time temps of almost 35 degrees means the sugars in the grape go into semi hibernation in the evenings thus arresting or slowing the ripening process. Even when the valley floor reaches 95 degrees, nighttime ushers in a welcome cool down courtesy of the big air conditioning to the west, the Pacific Ocean. Most evenings warrant a wrap or light sweater when dining al fresco or while watching star-filled nights unfold.
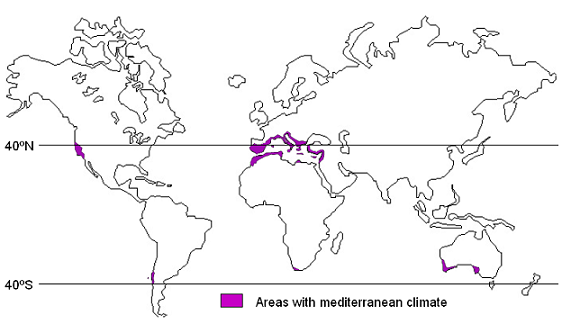
Lucky Napa Valley! Less than 5% of earth’s land surface is blessed with this amazing mediterranean climate!
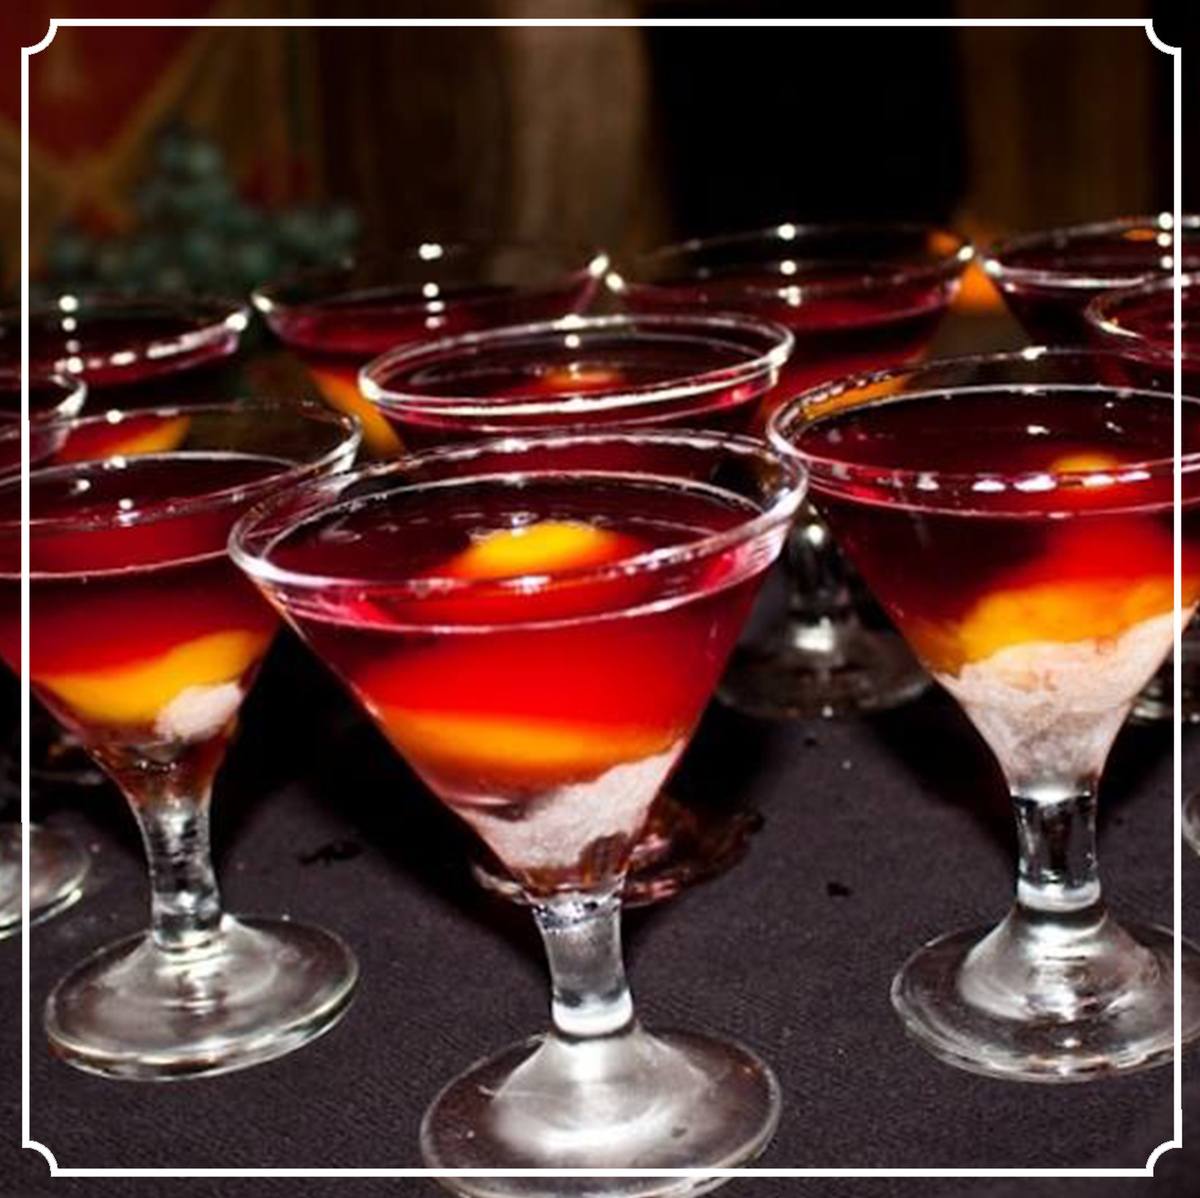
These evening temps are a welcome reprieve but I just can’t get past the heat and the constant craving for something cool and refreshing on my palate. My shopping cart at the grocery store has been jam-packed with fresh summer fruit, thirst quenching beverages and frozen treats. Luckily, our appetites also diminish a bit when the temps soar so refreshing fruit and veggie platters have been consumed with enthusiasm. Dessert? Well, that is simply a no-brainer—enter the simple and delicious Fantatini! A deliciously refreshing and chilled summer rosé wine drink. Made with lightly effervescent and slightly sweet La Fantasia. Simply pour over a frozen fruit sorbet and this yummy chilled finale is the perfect respite.
So chill it down…and when old man winter brings on the big chill-down (it may actually get below 60!), we will have to come up with another excuse to partake in this tasty concoction.
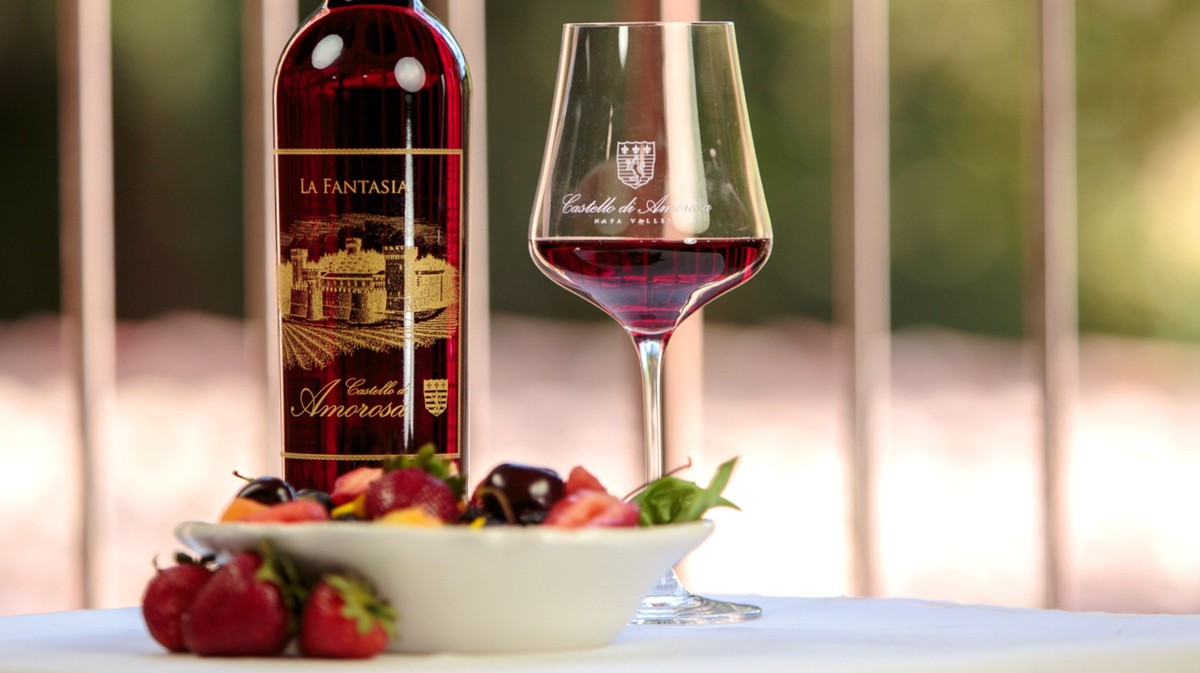
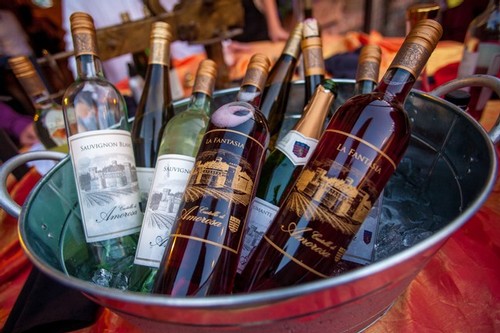
Frizzante-style La Fantasia is a proprietary blend of red grapes and is a perennial favorite. Just a bit of effervescence brightens the fruit notes of this lightly sweet wine.
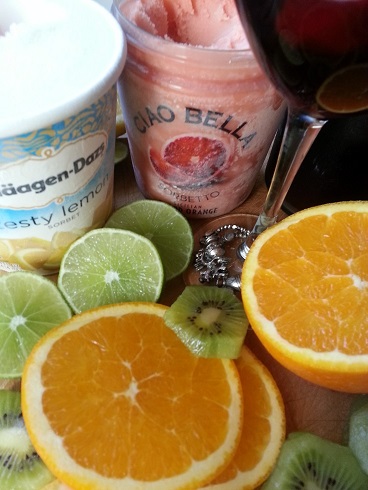
Grab some fresh fruit and a frozen sorbet and get ready for instant delicious.
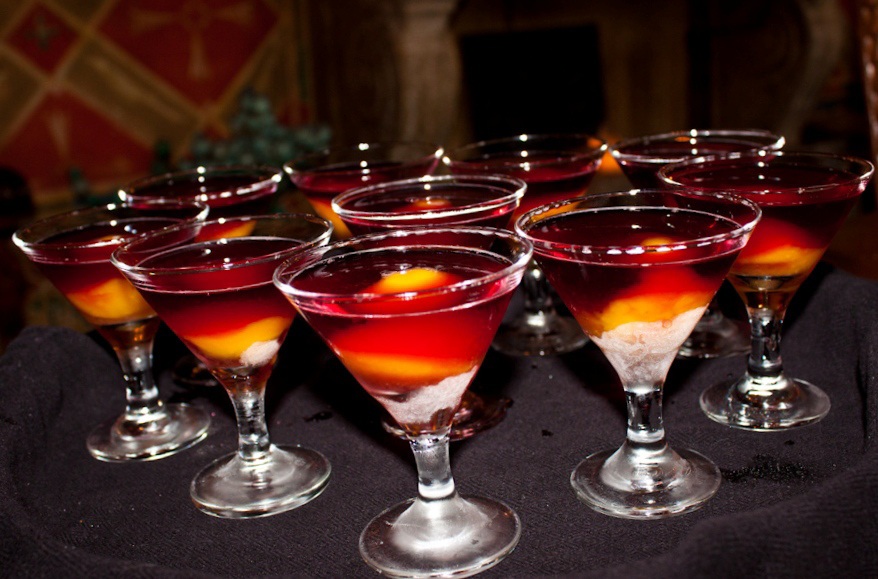
A sweet finale on the Castello di Amorosa Royal Pairing, the Fantatini. Recipe?… Simple. Scoop and pour!
TGI Frittata
TGI Frittata: How to Make a Frittata (Italian-Style Omelet)
I was raised in a large and lively household. With 2 parents, 4 of us kids along with 1 grandparent, my mother was faced with the daunting challenge every week to procure economical yet delicious ways to feed our sometimes demanding and always hungry mob. Schedules were constantly changing, I had piano lessons and swimming, and my brothers balanced after-school jobs and sports. In the summer, Dad often worked late. This meant not only did food have to be delicious and economical, but had to be just as good and easily re-heated to accommodate our unpredictable schedules.
Sunday night pasta was a regular on our menu. Essentially leftover tidbits from the week slow-cooked in a rich tomato sauce and served over pasta, a good way to start a busy week. Soups were another yummy option and minestrone often filled the pot. Basic minestrone was a smart use of left-over roast beef with an assortment of veggies and pasta. Frittata was a popular catch-all in our house and seemed to be a Friday night staple. The saying became TGIFrittata!
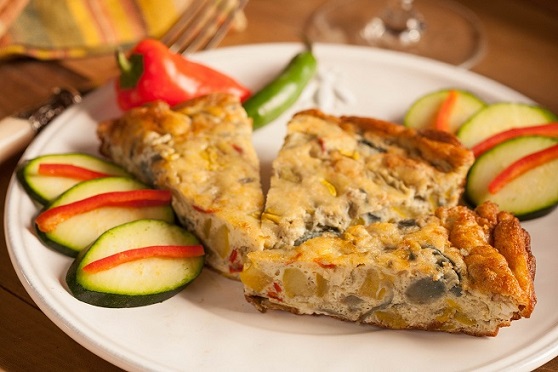
Frittata is a flat Italian-style omelet that’s usually prepared in a cast-iron skillet. A Frittata can be made with an assortment of ingredients; mushrooms, broccoli, cauliflower, or zucchini. For a heartier main course preparation, ground sausage, bacon or potatoes can be included. To make a frittata, beaten eggs are cooked briefly in a hot skillet along with other ingredients like onions, spinach, bacon, and/or potatoes, and then topped with cheese and finished in the oven.
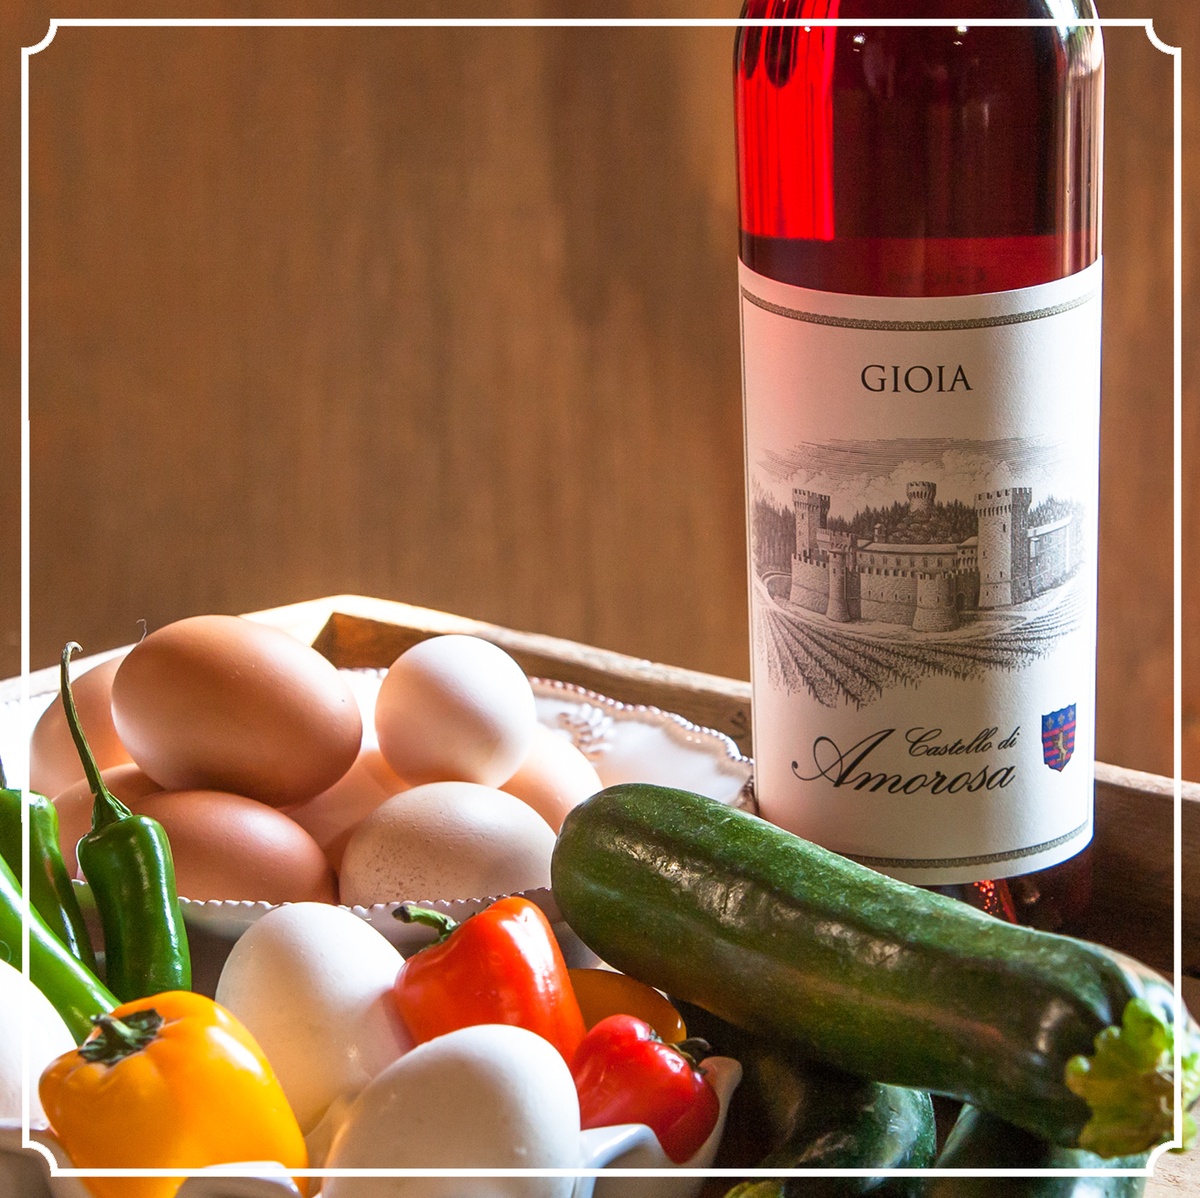
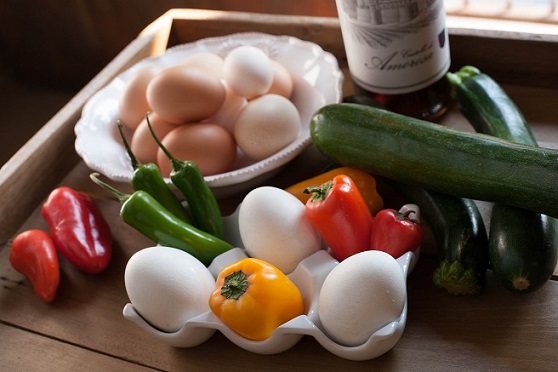
The Castello provided the bounty for this frittata. The royal chickens supplied the organic free-range eggs. From the castle garden; zucchini, red and yellow pepper, and serrano chili peppers.
The kick of spice made the wine selection for this brunch easy—Gioia, a dry and fruity rosé of Sangiovese.
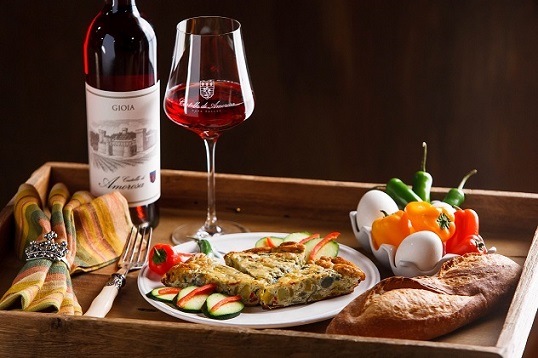
When cooked in a round skillet, frittata is traditionally sliced into wedge-shaped portions for serving. And re-heated…it was just as yummy as it was just out of the oven.
Frittata
♦ In a medium-sized bowl, using a fork, blend 4 – 6 eggs, grated Parmesan, 1/2 tsp pepper, and 1/4 tsp salt.
♦ Heat a 12-inch non-stick, oven safe saute pan over medium-high heat.
♦ Add butter to the pan and melt. Add frittata contents. Pour the egg mixture into the pan and stir with a rubber spatula.
♦ Cook for 4 to 5 minutes or until the egg mixture has set on the bottom and begins to set up on top.
♦ Sprinkle with parsley and additional grated parm.
♦ Place pan into the oven and broil for 3 to 4 minutes, until lightly browned and fluffy.
Mary Davidek C. S., S.W.