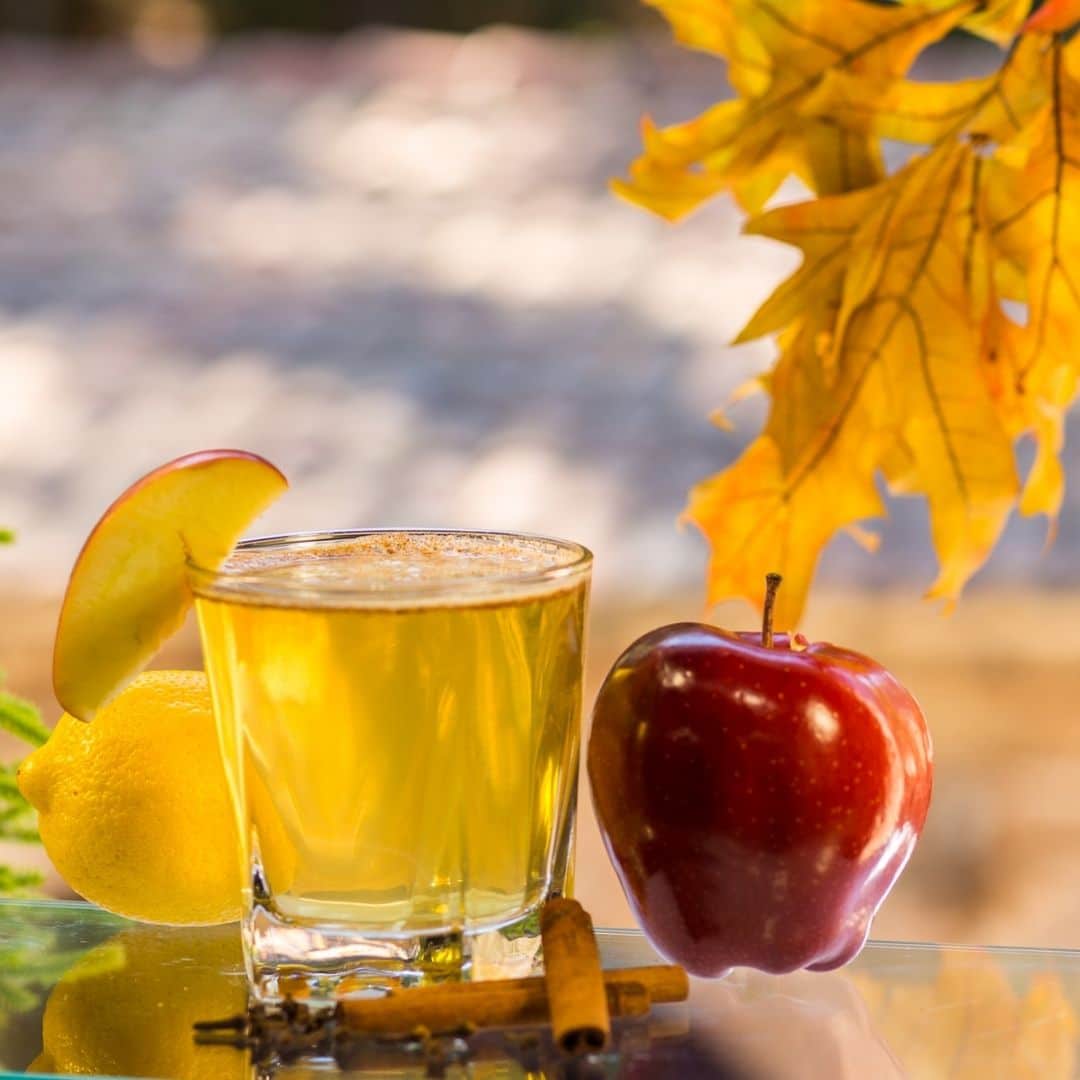
Autumn Apple Mocktail

Recipe Date: September 28th, 2024
Difficulty: Easy
Measurements: Imperial (US)
Autumn Apple Cider Mocktail recipe:
For each Spiced Apple Mocktail
- 8 oz Muscat juice
- 1 oz apple cider
- 1/2 oz fresh lemon juice
- 1/4 tsp ground cinnamon
- 1/4 tsp ground cloves
- Sparkling water (to top)
- Apple slice (for garnish)
- Cinnamon stick (for garnish)
Instructions:
- In a shaker or mixing glass, combine the Muscat juice, apple cider, lemon juice, ground cinnamon, and ground cloves.
- Stir or shake well to blend the flavors.
- Pour the mocktail mixture into your glass.
- Top with a splash of sparkling water for a bit of fizz.
- Garnish with an apple slice and a cinnamon stick.
Related Products – Muscat Canelli Grape Juice

Wine Grape Juice Mocktail Recipes | Mocktails with Grape Juice
Castello di Amorosa Explores the Versatility of Wine Grape Juice in Mocktails
When we think of grape juice, our minds often drift to thoughts of rich reds or crisp whites enjoyed in a glass. However, beyond its role as a standalone beverage, wine grape juice holds immense potential in the realm of mocktails, offering a flavorful and sophisticated base for non-alcoholic creations.
The Essence of Wine Grape Juice
Wine grape juice captures the essence of the grape varietals from which it is derived, carrying the same distinct flavors, aromas, and complexities found in wines. Whether it’s the boldness of Cabernet Sauvignon, the fruity notes of Chardonnay, or the floral hints of Riesling, each grape variety contributes its unique characteristics to the juice.
Brooks Painter, Director of Winemaking has been making wine grape juice with no alcohol for many years. “I have a passion for making grape juices that use the same grapes used to make our wines,” said Painter. “The making of quality grape juice that truly expresses the fruit and flavor of the grape is a challenge, and now we’ve mastered how to make these juices true to their varietal aromas and flavors,” he adds.
Peter Velleno adds that “our grape juice is made in much the same way as our wine. We harvest a few days early to provide a base of acidity. The clusters are hand-harvested and delivered to the crush pad where they are destemmed, pressed and then the juice is chilled to about 32 degrees. The big difference is that we don’t add yeast to convert the grape sugars to alcohol. We skip that step, and the result is a great alternative to wine which has surprising ageability, of up to 4 years.”
Crafting Mocktails with Wine Grape Juice
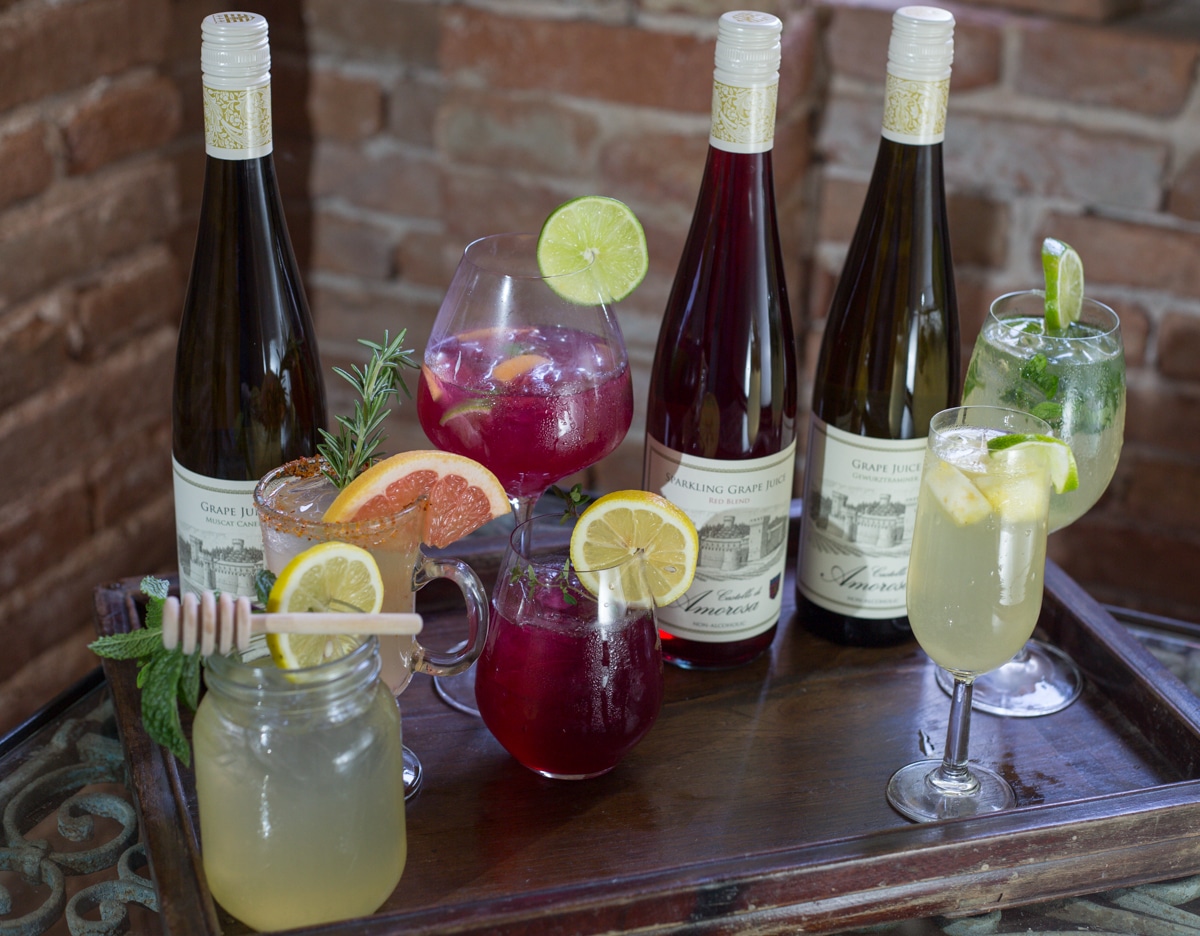
Mocktails, or non-alcoholic cocktails, have gained popularity for their ability to provide a refreshing and enjoyable drinking experience without the presence of alcohol. The Castello’s wine grape juice serves as an excellent base for mocktails due to its depth of flavor and natural sweetness. Here are a few delicious recipes created by Castello di Amorosa staff that incorporate wine grape juice into delightful mocktails: Mocktail Recipes
The Art of Mocktail Mixology
Creating mocktails with wine grape juice is not just about mixing ingredients but also about balancing flavors and textures. Consider incorporating herbs, spices, and other fruit juices to enhance the complexity of your mocktails.

Additionally, the presentation plays a significant role in elevating the drinking experience, so don’t hesitate to garnish with fresh herbs, citrus twists, or edible flowers.
Wine grape juice opens up a world of possibilities for crafting delicious and sophisticated mocktails. Whether you’re hosting a gathering, enjoying a relaxing evening, or simply seeking a flavorful non-alcoholic option, experimenting with wine grape juice in mocktails is sure to delight your taste buds and elevate your beverage repertoire. Cheers to the art of mocktail mixology!
The Castello di Amorosa Grape Juice
Imagine picking a grape cluster from the vineyard, pressing the juice, and putting it in a bottle to drink; no fermentation so there is no alcohol. The result is the delicious flavors and aromas of the individual grape varietals:
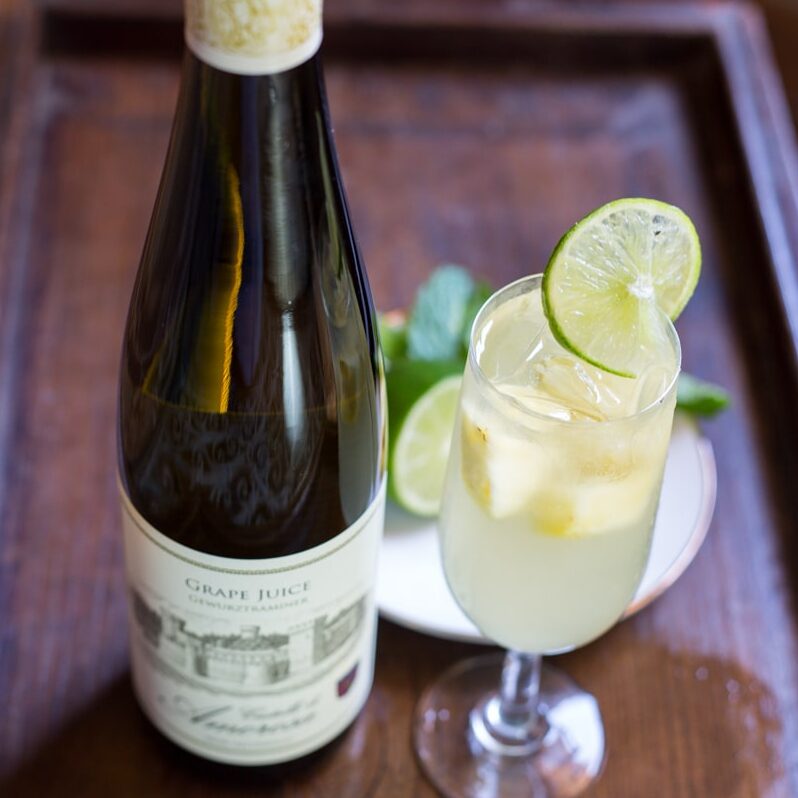
Gewürztraminer White Grape Juice:
 With aromas of rose pedals and lychee nut, this stunning white wine grape juice is bursting with exotic flavors of passion fruit, pear ginger and honeysuckle. Just add some crushed mint leaves and fresh lime and you’ll think you’re drinking a Mojito! It’s a super delicious grape juice mocktail recipe…. With no alcohol.
Castello’s VGM or Virgin Gewurztraminer Mojito. A vibrant and refreshing white grape juice drink.
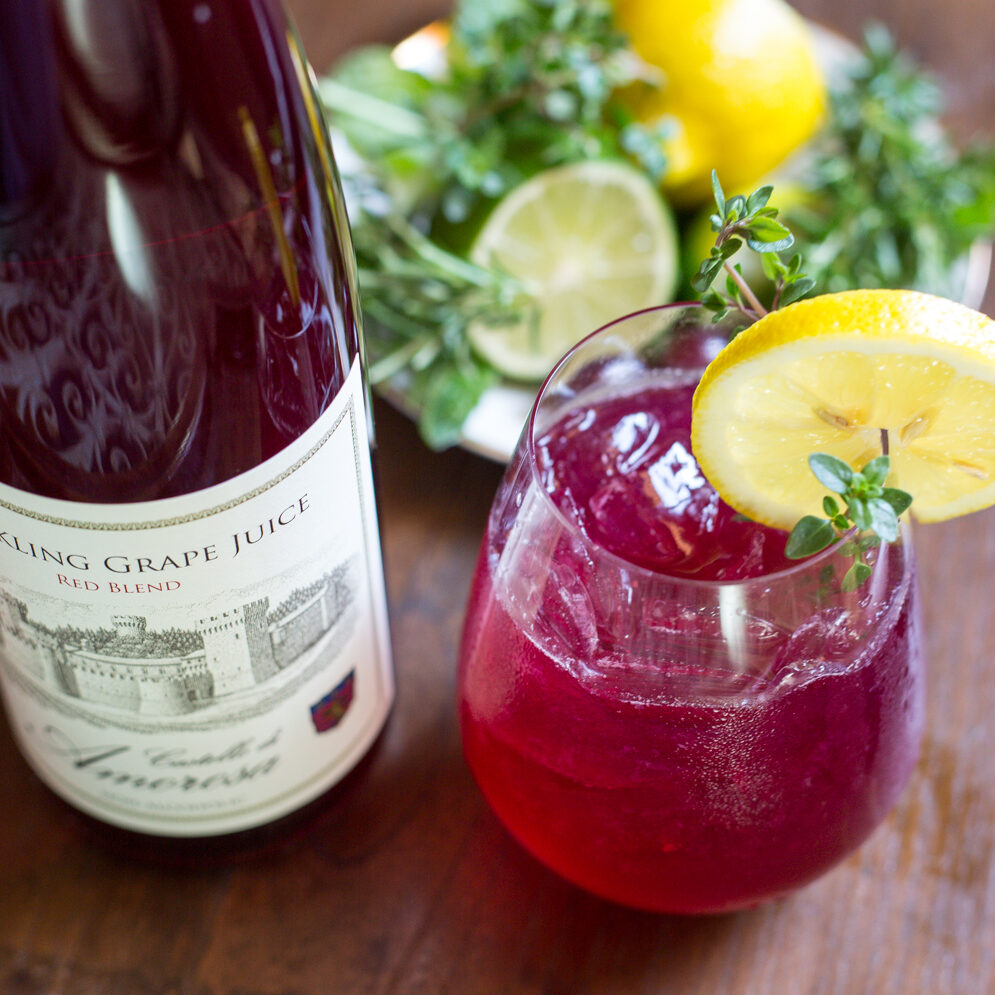
Sparkling Red Grape Juice:

This red wine grape juice is a wonderful expression of fruit-driven aromatics and luscious flavors of ripe watermelon and red berries. With a pleasing interplay of enticing acidity, balanced sweetness and a touch of effervescence, this grape juice can be combined with a touch of lemon juice and fresh herbs, like thyme to create an evocative red wine grape juice mocktail.
Known as the sparkler, this red grape juice mocktail has the added twist of thyme to pair with the sweetness of the grape juice. Perfectly balanced.
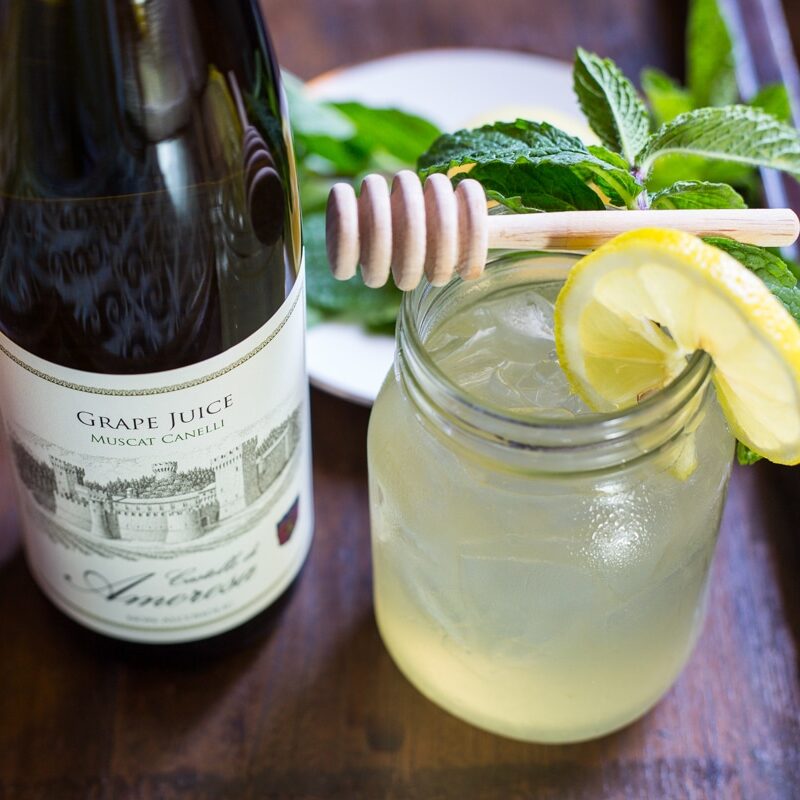
Muscat Canelli Grape Juice:

Sourced from vineyards in Santa Barbara County and Solano County, this Muscat grape juice is beautifully aromatic with characteristics of exotic spices and orange blossoms. Light and refreshing on the palate, it’s bursting with stone fruit flavors like pear and nectarine.
Try this honey-laced Muscat Mingle grape juice mocktail. It’s on another level.
See all the Castello grape juice based mocktails here.
Gewurz Mock Colada
Recipe Date: April 6th, 2024
Difficulty: Easy
Measurements: Imperial (US)
Gewurz Piña Colada Mocktail recipe:
For each Mocktail
- 4 oz of Gewurztraminer Grape Juice
- 2 oz coconut water
- 4 or 5 chunks of fresh pineapple
- half of a lime squeezed and
- one slice for garnish
- ice to fill glass
Related Products – Gewürztraminer Grape Juice
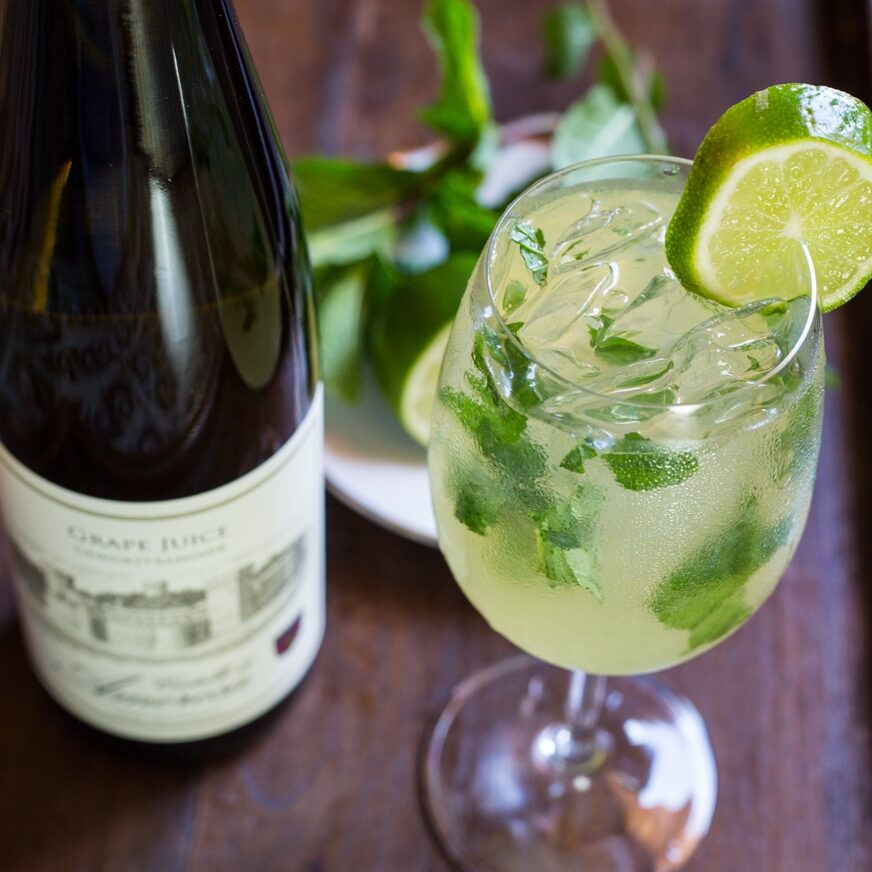
Virgin Gewurztraminer Mojito
Recipe Date: April 6th, 2024
Difficulty: Easy
Measurements: Imperial (US)
VGM (Virgin Gewürztraminer Mojito)
Virgin Gewürztraminer Mojito Mocktail Recipe:
Crafted with care, this mocktail mojito drink layers crushed mint leaves and fresh lime with the vibrant notes of Gewurztraminer Grape Juice, crowned with a lime quarter for a zesty finish.
- Fill a tall glass with crushed ice
- Add three crushed mint leaves
- Add two squeezed lime quarters
- Add 6 oz. Gewurztraminer Grape Juice
- Finish with a lime quarter on the lip of the glass
Related Products – Gewürztraminer Grape Juice
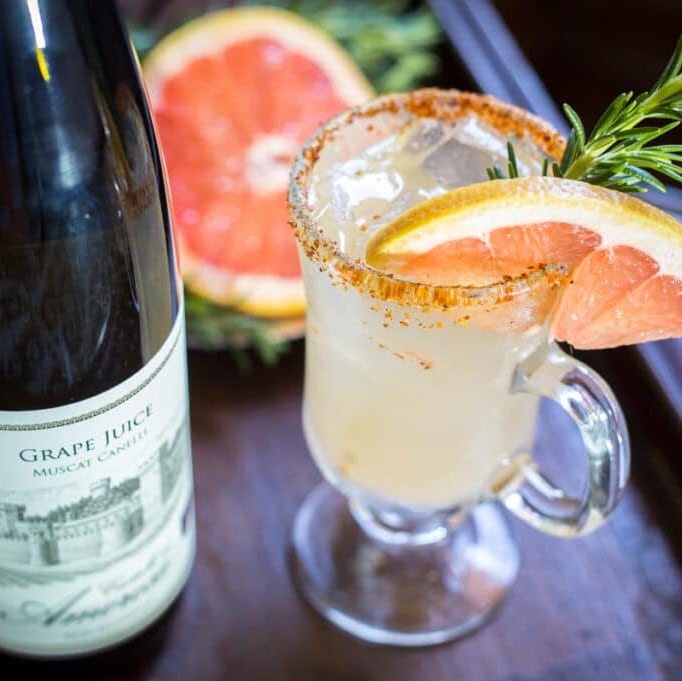
Grapefruit Muscat Mule
Recipe Date: April 6th, 2024
Difficulty: Easy
Measurements: Imperial (US)
Grapefruit Muscat Mule
A refreshing blend of muscat juice and spicy ginger beer, with a zesty grapefruit twist, served over ice and garnished with a fragrant sprig of rosemary.
Grapefruit Muscat Mule Mocktail recipe:
- 2 OZ of Castello di Amorosa Muscat Grape Juice
- 2 OZ of fresh squeezed Grapefruit.
- 2 OZ of Ginger Beer
- Tajin (optional)
Instructions:
- Fill glass you are using with ice
- Dump ice into a shaker with Muscat juice and Grapefruit juice , shake for 10-15 seconds
- If using Tajin, rim glass with grapefruit and dip in Tajin
- Pour back into glass and top with Ginger Beer
- Finish with a Grapfruit wedge and sprig of fresh rosemary
Related Products – Muscat Canelli Grape Juice
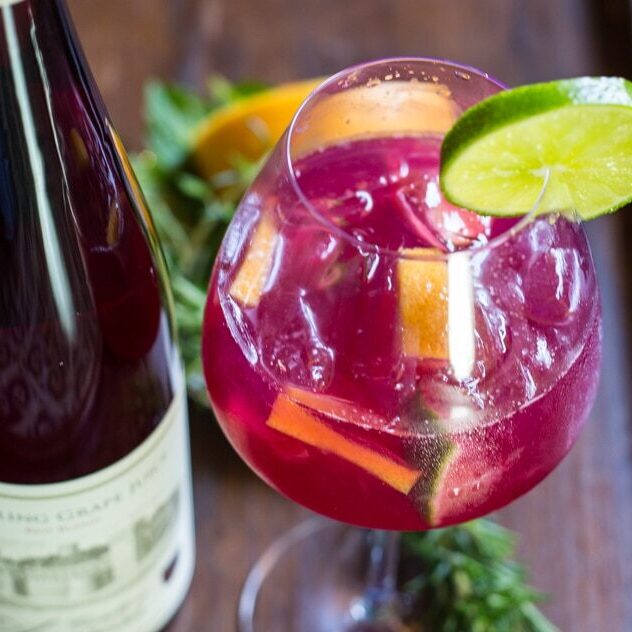
Sparkling Sangria
Recipe Date: April 6th, 2024
Difficulty: Easy
Measurements: Imperial (US)
Sparkling Sangria
An effervescent blend of Castello Sparkling Red Grape Juice, kombucha, and citrus juices.
Sparkling Red Grape Juice Sangria Mocktail Recipe:
For Each Mocktail:
- 3 OZ Castello Sparkling Red Grape Juice
- 2 OZ Kombucha
- 2 OZ Freshly Squeezed Orange Juice
- 1 OZ Freshly Squeezed Lime Juice
- Simple Syrup or Honey (To Taste)
- Ice Cubes
- Garnish with Fruit Soaked in Kombucha for 24 hrs
Related Products – Sparkling Grape Juice

The Sparkler
Recipe Date: April 6th, 2024
Difficulty: Easy
Measurements: Imperial (US)
The Sparkler
This sparkling red grape juice mocktail offers a refreshing blend of tartness from the lemon juice, sweetness from the grape juices, and herbal notes from the thyme, which complements the flavors of grape juice beautifully.
For each Mocktail
Ingredients:
- 4 OZ sparkling grape juice
- 1 OZ freshly squeezed lemon juice
- 1 OZ simple syrup
- Ice cubes
- Lemon slices or twists for garnish
- Fresh thyme sprigs for garnish
Instructions:
- Fill a shaker with ice cubes.
- Add the sparkling grape juice, freshly squeezed lemon juice, and simple syrup to the shaker.
- Shake well until chilled.
- Strain the mixture into a glass filled with ice.
- Garnish with a lemon slice or twist and a sprig of fresh thyme.
- Serve immediately and enjoy!
Related Products – Sparkling Grape Juice
Muscat Mingle | Non-Alcoholic Muscat Cocktail Recipe
Recipe Date: April 5th, 2024
Difficulty: Easy
Measurements: Imperial (US)
Muscat Mingle
This honey-laced, light-and lemony Muscat cocktail recipe is the perfect refreshing summer sipper.
Ingredients
For each Mocktail
1 Tsp. honey
1/2 Tsp hot water
2 tsp. lemon juice,
2 OZ Muscat juice
3 OZ of sparkling
Ice to fill glass
1 Lemon slice
1 Mint sprig
Directions:
- Place 1 Tsp. honey and 1/2 Tsp hot water into a glass: stir until blended and dissolved.
- Add 2 tsp. lemon juice, 2 OZ Muscat juice and 3 OZ of sparkling water stir.
- Fill glass with ice. Stir again.
- Garnish with lemon slice and mint sprig. Drizzle top with additional honey, if desired.
Related Products – Muscat Canelli Grape Juice
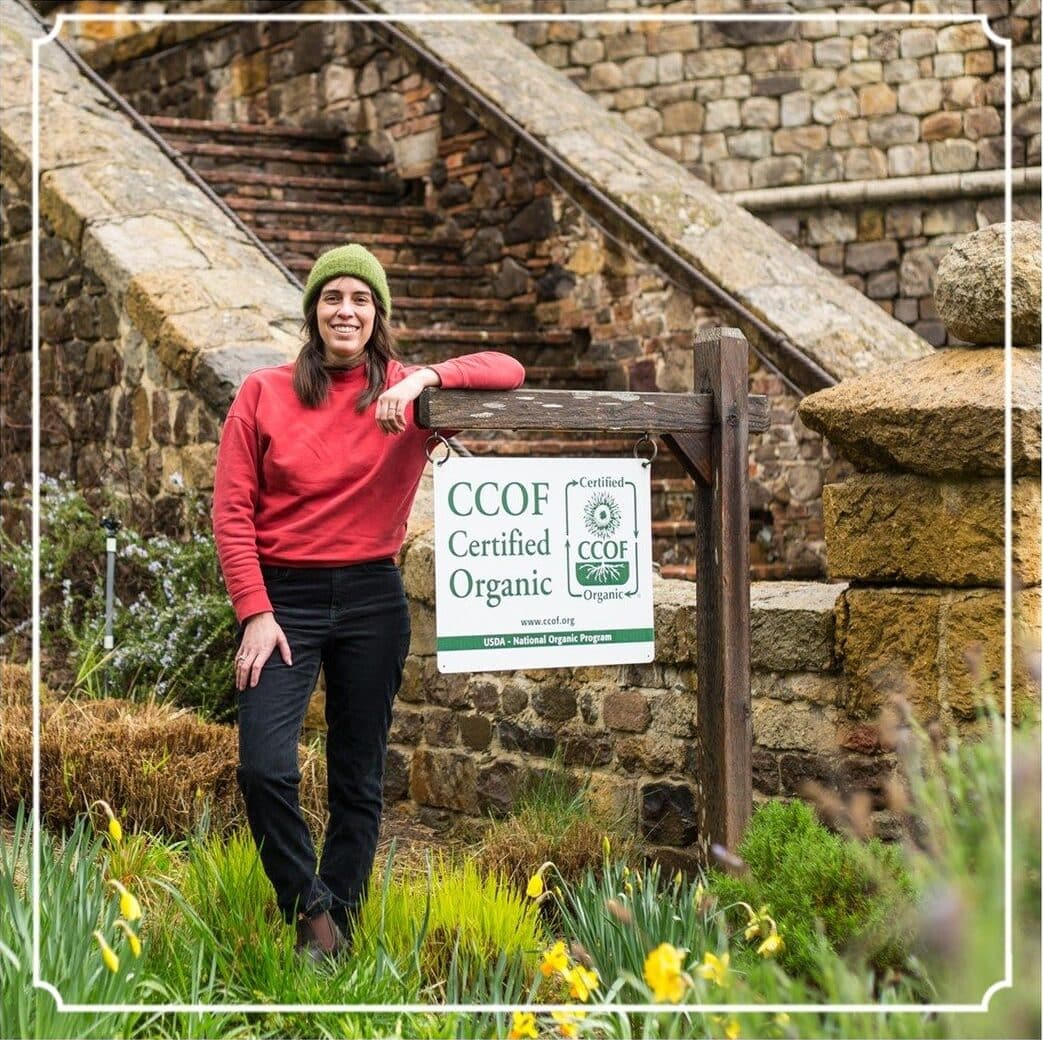
Audrie Walsh, Assistant Winemaker
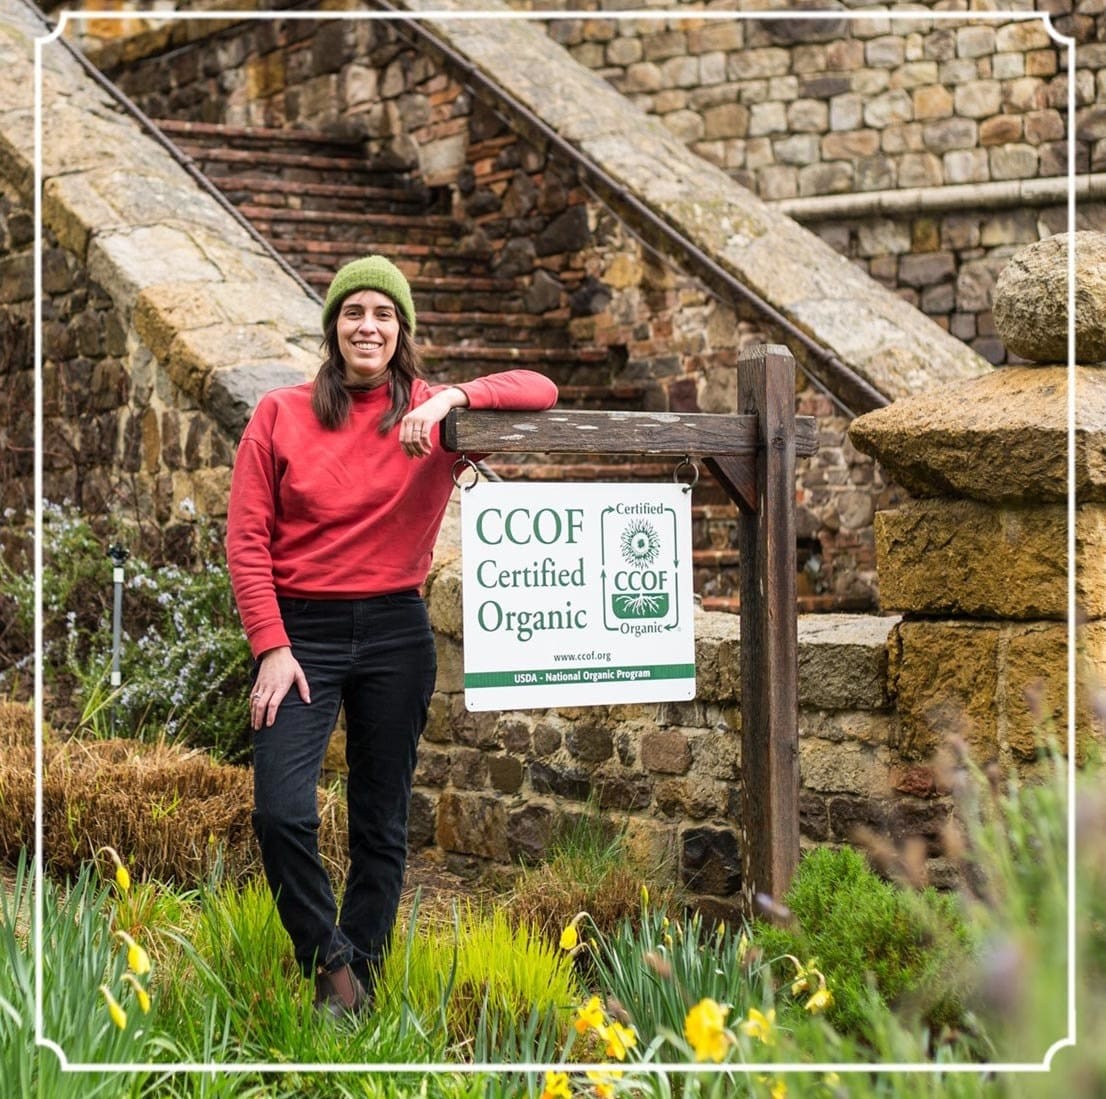
Audrie Walsh, Winemaker
Meet Audrie Walsh, Castello di Amorosa’s Assistant Winemaker. Born and raised in California’s Mojave Desert. At a young age, she developed an innate fascination with the natural world. It was not uncommon for her to scour the countryside looking for and photographing interesting flora and fauna to study. This sense of adventure and creative mindset laid the groundwork for her role as Assistant Winemaker.
Ms. Walsh earned a bachelor’s degree in Biological Sciences from UC Irvine and started working in the lab and cellar at Estancia Estates, where her interest in the art and science of winemaking emerged. She decided to pursue it further, traveling halfway across the world to the University of Adelaide in South Australia, where she earned a Masters in Oenology.
She returned to the U.S. and started urban winemaking in San Francisco’s Dogpatch and on Treasure Island before landing in Napa in 2015. Working harvests at Robert Mondavi Winery and Louis M. Martini was followed by several years at Treasury Wine Estates, where she made wines for Chateau St. Jean, Beaulieu Vineyards, Provenance, and Beringer Vineyards. In 2021, she joined Bundschu Company, where she worked on Gundlach Bundschu, Abbot’s Passage, and various custom crush wineries.
But wine isn’t her only passion. As a mother to 2 small children (daughter Aoife and son Ronan, names courtesy of her Irish husband, Richard), her free time is filled with park visits, mother/daughter brunches, dance classes, and the occasional moonlight pottery throwing or music recording session. She loves spending time in her husband’s homeland, especially Dublin, saying, “Too bad you can’t grow grapes there!”
If you asked her colleagues to describe her, they might say “creative,” “analytical,” and “a calming force,” particularly during the rush of harvest!
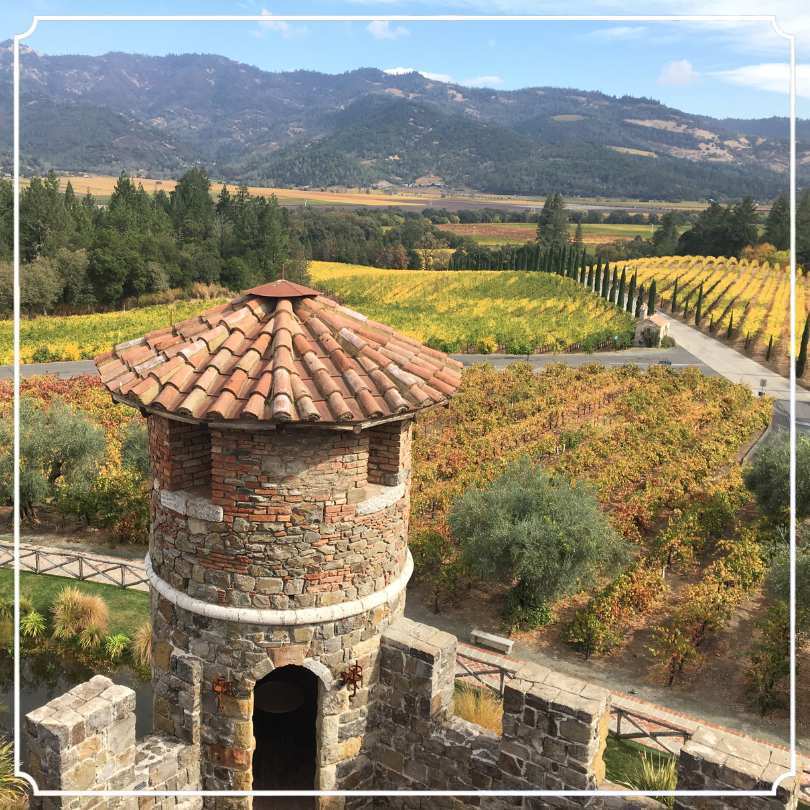
Fall in the Vineyard
Fall in the Vineyard
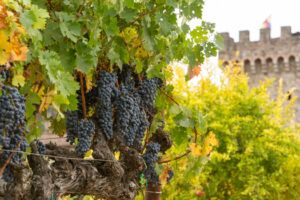
Fall is here. It’s an especially significant time in the wine world—the time of grapes reaching maturity and being harvested and starting their cycle of becoming wine. Leaves are changing color, there’s a coolness in the air, we start to crave heartier foods. It’s also the time when our wine palate evolves into seeking out the best fall wines.
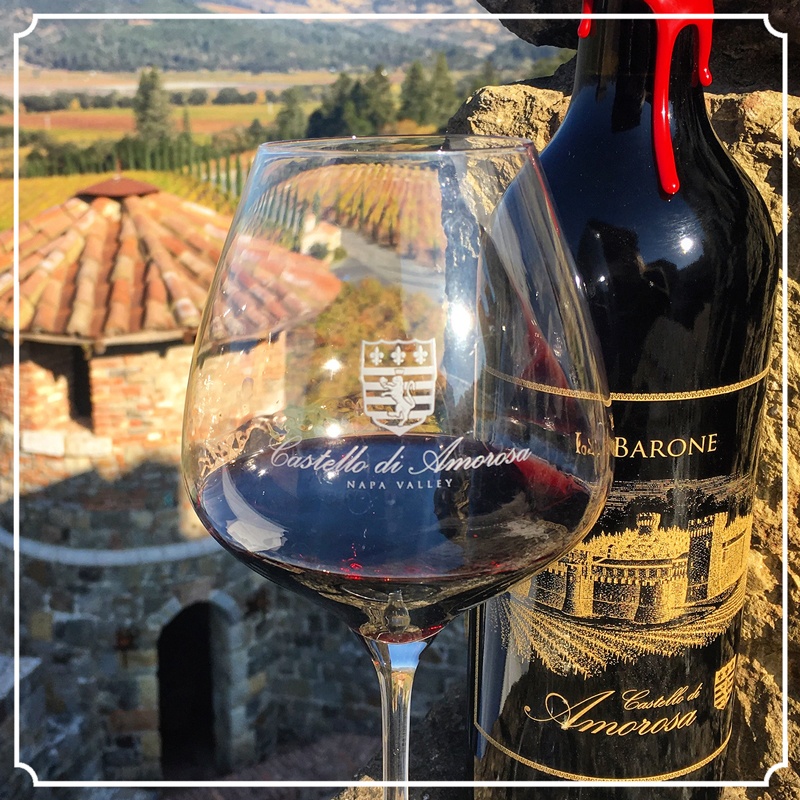
What’s a fall wine? It’s probably red: one great example is our Il Barone. This reserve wine is typically a blend of approximately 95% Cabernet Sauvignon and 5% Merlot. The majority of the grapes were sourced from the Rutherford AVA, known for the complexity in its terroir. Our winemakers aged this vintage for 22 months in French oak barrels. The name is a nod to our Italian heritage and the nobility, if you will, of the wines we craft. In this case, Il Barone suggests refinement and elegance as well as power and nuanced strength, all great attributes for a big, bold and delicious Cabernet Sauvignon.
Fall in the Napa Valley is one of the most magical times of the year. Here at the Castello we welcome visitors who come intentionally to enjoy the aromas of fermenting grapes and glimpses of grapes being processed on the crush pad of the castle with state-of-the-art equipment and French Oak wine barrels sourced from the center of France.
The autumn is a time when all of us look forward to sitting down to lots of food and deeply flavored foods, like roasts and rich cheeses and long-simmered stews. We offer a number of ‘fall wines’ to pair with those choices.
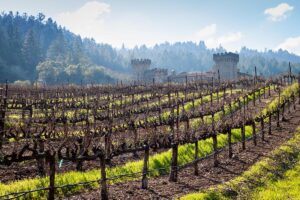
Because of the crispness in the air during the fall in the Napa Valley, visitors often enjoy longer visits at the Castle, making sure they’ve climbed all the stairs, surveyed the countryside beyond our moat, maybe even peeked into the torture chamber or the chapel.
All of that exertion does open up your taste buds to a range of great fall wines which are primarily our small production single vineyard Cabernet Sauvignons, such as Morisoli-Borges Cabernet Sauvignon as well as traditional Italian varietals such as Sangiovese, Pinot Bianco, Vermentino and Pinot Grigio.
Fabulous fall! Come visit us during this great time of year or re-create our romantic setting at your home—light some candles, settle in by the fireplace or around an outdoor fire, open some wonderful autumn wines along with hearty food and enjoy!